Cutting your own hair can seem daunting, but with the right techniques and tools, it can be a straightforward task. Using clippers to trim your hair not only saves money on salon visits but also gives you the flexibility to maintain your style on your own schedule. In this guide, we will explore various methods and tips on how to use clippers to cut your own hair effectively, covering everything from preparation to execution and even styling afterward.
Essential Tools for Home Haircutting
Cutting your hair at home starts with the right tools. Proper equipment ensures a smooth, stylish haircut.
Choosing the Right Hair Clippers
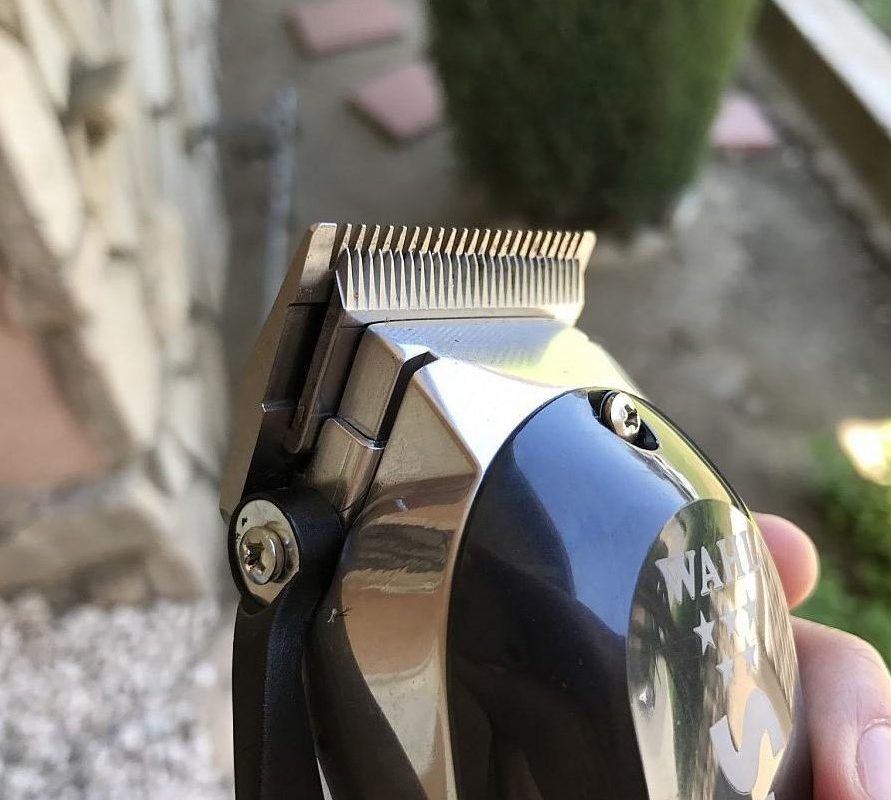
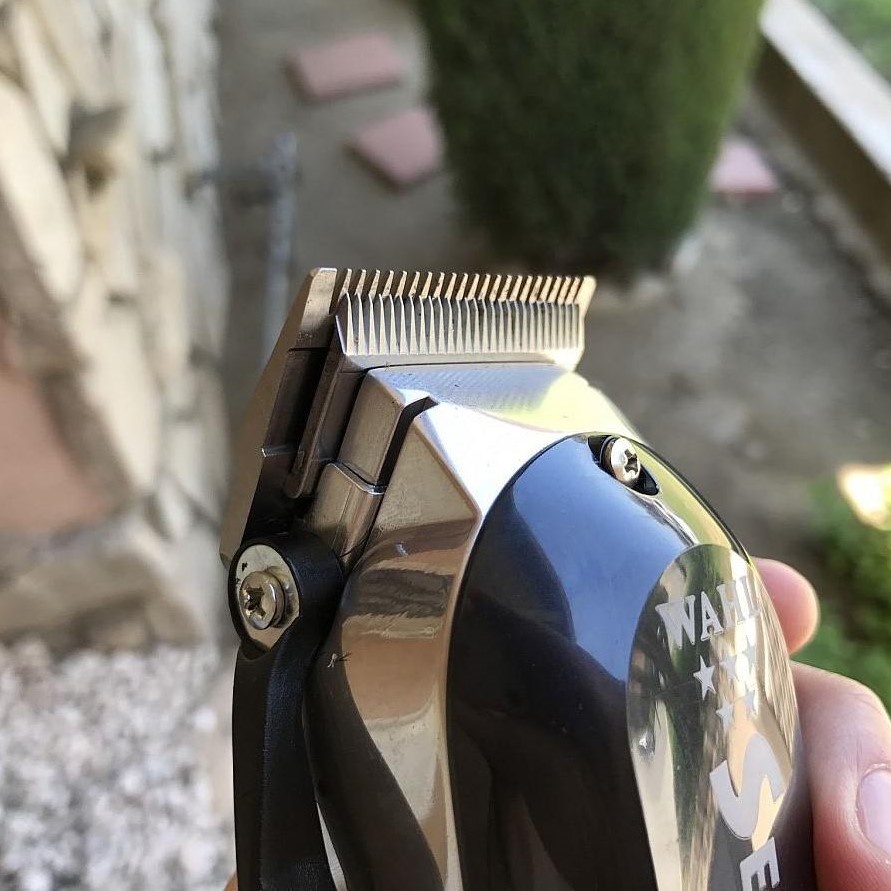
Not all clippers are equal. Look for quality brands like Wahl, Andis, or Oster. Avoid cheap, low-quality clippers. They can pull hair and break easily. Mid-range priced clippers often offer the best value. Expect to pay between $35 and $60. These usually come with useful features and accessories. You want a clipper that feels comfortable in your hand and has adjustable blades. The side lever should let you control cutting lengths easily. Look for a clipper kit that includes various guard sizes. More guards mean more styling options. Remember, you get what you pay for. Invest in a good pair.
Additional Accessories You’ll Need
Aside from clippers, gather a few more items. You’ll need a comb to remove tangles before you start. Scissors are helpful for snipping stray hairs. A mirror, preferably hand-held, helps you see the back of your head. Cleaning brush and oil maintain your clippers. Don’t forget guards for different hair lengths. They are critical for achieving the right cut. Investing in these tools can help you achieve a professional look at home.
The Fundamentals of Clipper Cuts
Clipper cuts are a staple of men’s grooming. They offer simplicity and control in home haircuts. Knowing the basics is key to a good DIY cut.
Understanding Hair Lengths and Guard Numbers
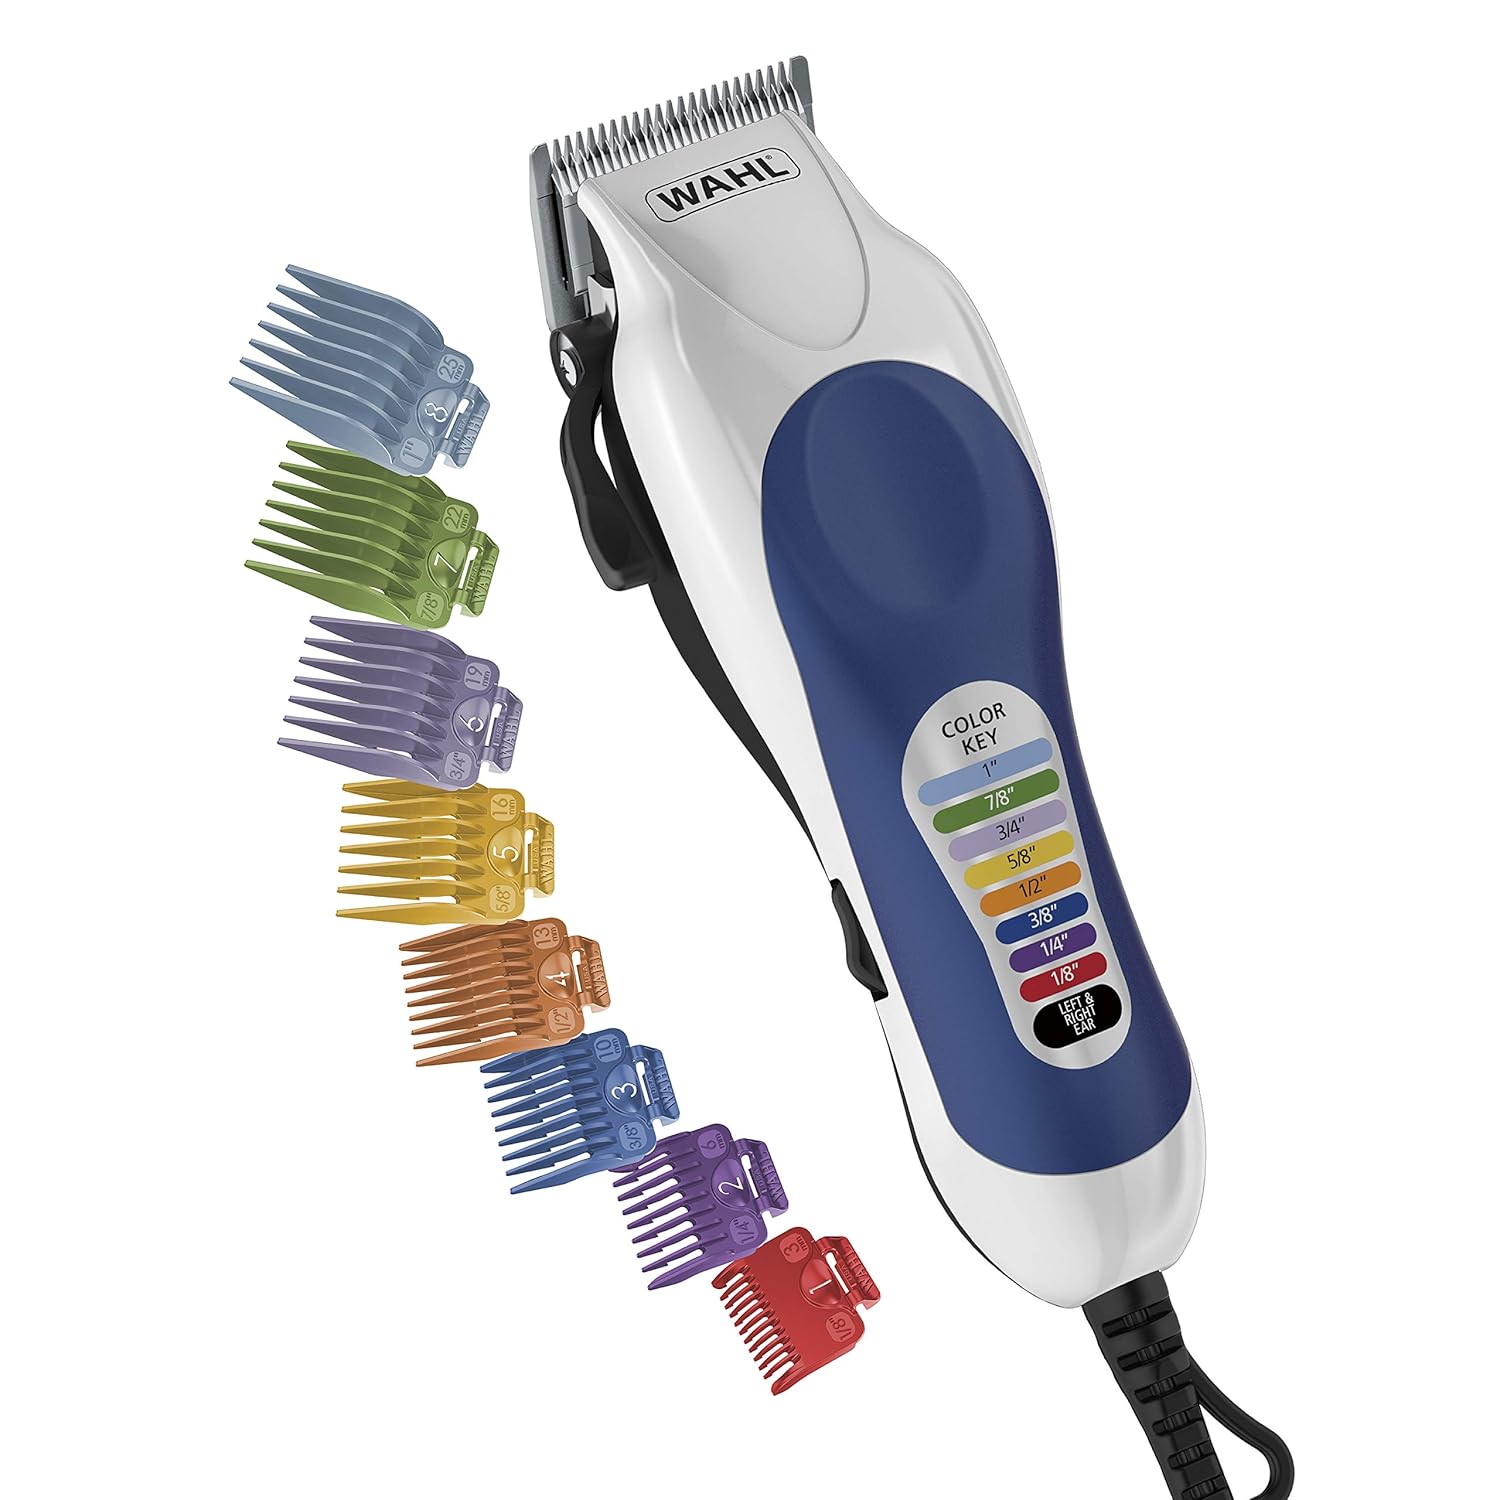
Choosing the right guard number is crucial. It determines the length of hair left on your head. Guards are numbered and typically range from #1 to #8. #1 leaves 1/8 inch of hair, whereas #8 leaves a full inch. Smaller numbers mean shorter cuts. Use higher guard numbers for longer hair or blending. Always start with a higher guard number. It’s safer as you can’t add hair back once cut.
Mastering the Rocking Motion Technique
Using clippers means more than just moving them over your head. Mastering the rocking motion is important. It helps blend different hair lengths smoothly. Start with the clippers against your head at the bottom. Slowly rock them out and away as you move up. This creates a gradual transition between hair lengths. Practice the motion before you start cutting. This technique is key for fades and tapered cuts. Remember, smooth and consistent movements. They help avoid uneven cuts and lines.
Step-by-Step Guide to Cutting Your Own Hair
Navigating the process of a DIY haircut can feel daunting, but with precision and the right approach, it turns into an empowering task. Let’s delve into a methodical way to trim your hair using clippers.
Starting with the Top: Techniques and Tips
Initiate your DIY haircut with the top of your head as it sets the stage for the rest. Choose a higher guard number for a safer, longer length—you can always trim more if needed. Begin at the front and move the clippers back towards the crown. Keep a steady pace and use even pressure for consistency. Don’t rush; take your time to ensure you cover all areas thoroughly.
Sides and Back: Achieving a Clean and Even Cut
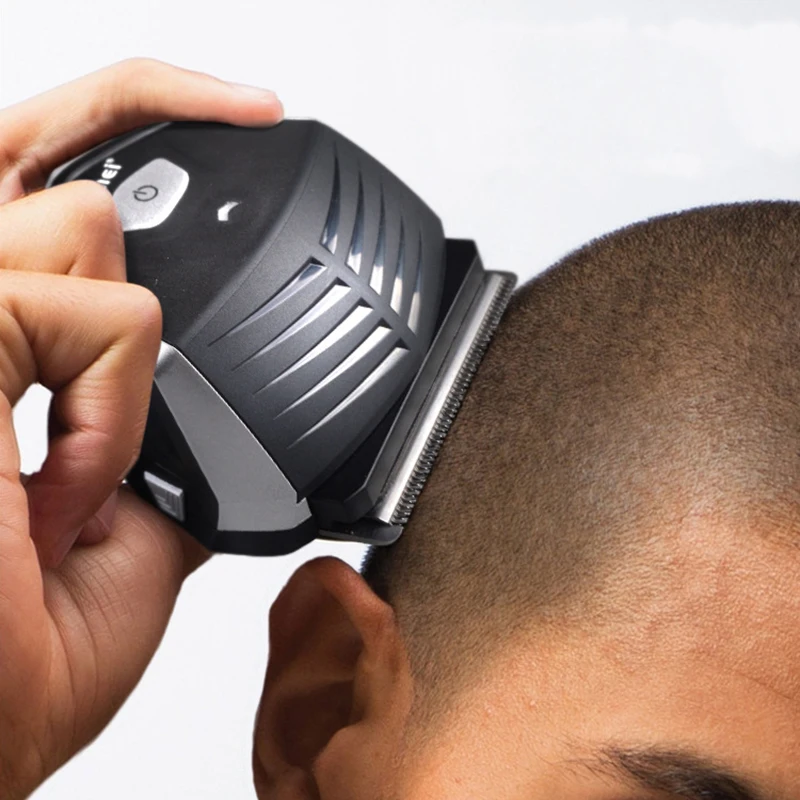
Once the top is done, it’s time to tackle the sides and back. Use a mirror to check your progress. Start with edges and work upwards using a consistent rocking motion. This helps to blend the hair lengths seamlessly. Be extra cautious around the ears; use the appropriate guards to maintain safety and precision. Going slowly helps prevent accidental nicks and ensure a more accurate cut.
Details and Finishing Touches: Sideburns and Neckline
Refining the details makes all the difference in your home haircut. Adjust clippers to a shorter setting or remove guards to define your sideburns and tidy up the neckline. Use a hand-held mirror to see the back better and ensure an even finish. Light, gentle strokes are key to fine-tune the cut without causing irritation. Exercise patience and care; the final touches can perfect your haircut.
 Advanced Clipper Techniques
Creating Fades and Undercuts at Home
Fades and undercuts can elevate your style and are doable with clippers at home. Start by selecting a longer guard for the top. Gradually switch to shorter guards as you work down. Use the rocking motion to blend the lengths smoothly. Practice makes perfect with these cuts. Don’t rush, and check your progress in the mirror often.
Remember, fades require gradual changes in length. Use your lever to adjust the blade for precise control. Start high and decrease the length as you move down the head. Use a steady hand and blend the transition areas well. Undercuts require more definition. Leave the top long and cut the sides much shorter. Use a clear line of demarcation around the head to separate the lengths.
Dealing with Difficult Areas like Behind the Ears
Cutting hair behind the ears is tricky. Tilt your head and use a hand mirror to see clearly. Turn the clippers sideways to fit the space better. Move carefully, and use ear taper guards if available. A smaller clipper head may help in these spots. Keep a steady hand and trim slowly. Regular checks are key to maintain evenness all around.
Both techniques need patience and attention. Take breaks, double-check in the mirror, and adjust as needed. Over time, you’ll develop the skills to create these stylish cuts from home.
Haircut Maintenance and Touch-Ups
Maintaining your haircut between visits to the barber is crucial. Regular touch-ups can keep your style looking sharp and avoid the unkempt look. This especially applies to the sides and neckline, which grow faster and can quickly appear overgrown. By keeping these areas trimmed, you maintain a cleaner, fresher look.
Keeping Your Look Fresh Between Cuts
Freshening up your haircut isn’t as daunting as it may seem, and doing so can extend the time between full cuts. Focus on the sideburns and neckline, both of which tend to grow out faster and more visibly. Use a lower guard on your clippers for a close cut that ensures crisp edges. For the neckline, try using a handheld mirror to see the back, ensuring a smooth, even line. Frequent checks can prevent uneven patches which detract from a neatly groomed appearance.
Hair and Scalp Care for Healthier Growth
Healthy hair starts with a healthy scalp. Routine washing and conditioning contribute to healthier, shinier hair. Opt for mild, sulfate-free shampoos that don’t strip natural oils. Using a conditioner supports moisture retention which is key for preventing breakages. Massage your scalp to stimulate circulation and hair growth. Address loose strands by keeping hair adequately hydrated. This combined approach helps maintain both the appearance and health of your hair, lengthening the time your haircut remains fresh.
Clipper Care and Longevity
Proper care extends the life of your hair clippers, ensuring optimal performance.
Routine Cleaning and Oiling
Regular cleaning and oiling keep your clippers functioning smoothly. After each use, brush off all hair residues. Then, apply a few drops of oil on the blades. This prevents rust and maintains sharpness. Remember to oil them more frequently if you use them often.
Tips for Disinfecting and Maintaining Sharp Blades
Disinfect your clippers periodically, especially if you share them. Use a disinfectant spray designed for clippers. To maintain sharp blades, avoid dropping the clippers. Store them in a dry place. Sharpen the blades if they start pulling hair instead of cutting it. Following these simple steps ensures your clippers remain in top condition.
 FAQs and Troubleshooting
Having the confidence to cut your own hair comes with practice and the right knowledge. Here are some FAQs and troubleshooting tips to help you along your DIY clipper haircut journey.
Common Questions About Home Haircutting
When attempting to cut your own hair, several questions might come to mind. Below, we address the most common inquiries.
- Can I cut my own hair with clippers? Yes, with the right tools and techniques, you can successfully cut your hair at home using clippers.
- What guard size should I use? Guard sizes vary from #1 (1/8 inch) to #8 (1 inch). Choose based on the length you desire.
- How often should I cut my hair? It depends on your hair growth rate and style. Some may cut weekly, others less often.
- Do I need special scissors for haircutting? Yes, hair-cutting scissors are sharper and designed for snipping hair without damage.
- Can I use clippers on wet hair? It’s best to use clippers on dry hair. Wet hair can clog the blades and affect the cut.
Solving Typical DIY Haircut Problems
Occasionally, you might encounter issues while cutting your hair. Here are solutions to common problems.
- Clippers pulling hair: Ensure your blades are sharp and well-oiled. If it continues, they may need replacing.
- Uneven cut: Check your guard size and ensure you’re using the rocking motion correctly. Practice makes perfect.
- Missed spots: Use a hand-held mirror to check the back of your head. Go over any missed areas with the clippers.
Remember, practice is crucial. Each attempt will improve your skills and confidence in using clippers to cut your own hair.

