Setting Up Your Cutting Station
Preparing Your Workspace
How to fade hair with clippers? To start, clear your space for a clean, uncluttered area. It should be well-lit to see your work clearly. Next, organize your tools within arm’s reach, and place a cape or towel on your client. This will ensure comfort and cleanliness during the haircut process. Always keep a mirror at hand to check your work as you go.

Essential Tools for a Perfect Fade Haircut
To achieve the sleek look of a fade haircut, you need the right tools. A set of clippers with various guard sizes is key. You’ll also need scissors, a comb, and a trimmer. A brush, spray bottle with water, and a cape are important for maintaining cleanliness. A mirror helps with checking the evenness of your cuts. With these tools, you’re ready to create a top-notch fade haircut. Remember, quality tools contribute to better results and ease while cutting.
Understanding Guard Sizes for Desired Hair Lengths
Selecting the correct guard size is crucial for achieving the perfect fade haircut. The guard size determines the hair’s length after the cut, key to the fade’s gradient effect.
Selecting the Right Guard Size
When selecting guard sizes, start with a bigger number for longer hair sections and switch to lower numbers as you approach the areas needing shorter lengths. For instance, a #3 or #4 guard can work for the top if you’re blending into a longer style. For the shorter sections at the sides and bottom, you might start with a #1 or #2.
Guide Comb Numbering and Their Uses
Understanding guide comb numbering is essential for a smooth transition. Smaller numbers leave less hair: a #1 leaves about 1/8 of an inch, while a #8 would leave an inch. This system helps you execute a uniform fade without gaps or uneven patches. For a classic fade, you may transition from a #2 on the back and sides to a #3 or #4 on top. For a tighter skin fade, you might use a #0 or no guard at all, scaling up to #1 or #2. Familiarizing yourself with these numbers will improve the quality of the fades you produce.
Executing the Fade Haircut
Step-by-Step Side and Back Trimming
To execute the fade haircut, begin with the side and back trimming. Start with the larger guard size selected based on the desired length for the upper sections. Holding the clipper firmly, run it up the sides and back in smooth, consistent strokes. Work from bottom to top, gradually transitioning to shorter guards as you move down. This sets the foundation for the fade, with longer hair on top and shorter lengths near the neck.
Creating and Blending the Fade Line
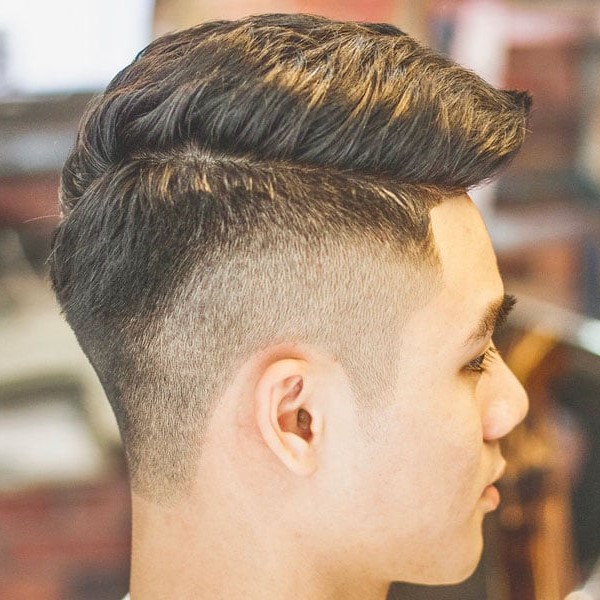
Once the basic length is set, it’s time to create the fade line. Select a shorter guard, like a #1 or #0, and cut a line around the head where the fade will begin; this is generally around the temples or just above the ears. Keep this line even all around. Then, blend the fade using a slightly longer guard. Employ a flicking motion with the clippers—up and out—to meld the different lengths seamlessly and avoid a harsh line. This blending is key for a smooth transition.
Mastering the Taper Technique
For a polished look, master the taper technique. Use the trimmer to shape the neckline; start at the bottom, working upwards to connect with the fade. Blend the hair carefully to create a gradient effect. Ensure the taper is symmetrical and clean-cut. This technique finishes the initial structure of the fade, setting the stage for personalized detailing and styling to complete the look.
Each step plays a crucial role, and practicing these techniques will ensure a sharp and professional fade haircut. Always check your progress in the mirror and correct any disparities immediately. Remember, the goal is a smooth transition that looks effortless.
 Detailing and Finishing Touches
Trimming the Top and Styling
After setting the fade, focus on top hair. Trim it with scissors or a longer clipper guard. The goal is to smoothly blend the top with the faded sides. As you cut, comb the hair upward and snip to the desired length. Style the trimmed top as needed, using a comb and your clients’ desired product. This can be sleeked back or left textured for a modern look.
Detailing the Edges Around Ears and Neckline
Clean edges make a haircut stand out. Use a trimmer to get sharp lines around the ears and neckline. Work slowly to follow natural hairlines. Keep your hand steady for precise outlines and avoid digging into the hair. This detailing frames the face and gives a neat, professional finish.
Final Checks for Evenness and Symmetry
Last, inspect the fade from all angles. Use a mirror to see the back and sides. Check for balance on both sides of the head. Look for stray hairs and uneven spots. Touch up as needed to achieve a symmetrical look. Ensure the client is happy with the result. This final step assures the fade haircut meets professional standards.
Remember, creating a seamless fade haircut is about patience and precision. Focus on these details for a sharp, stylish finish every time.
Maintenance Tips for Your Clippers
Keeping Your Clippers in Top Condition
Proper maintenance of your clippers is essential for the best fades. Always remove hair strands and debris after each cut. This prevents buildup and maintains hygiene. Store your clippers in a dry, cool place to avoid rust or damage. Oiling the blades regularly ensures smooth operation. Check for wear and tear often, especially on the power cord and blades. Handling your clippers with care extends their life and performance.
Regular Cleaning and Blade Sharpening
For clippers to perform well, they need regular cleaning. Use the brush provided or a toothbrush to remove clipped hairs. Disinfect blades with isopropyl alcohol to kill germs. Sharpening blades is key for clean cuts. A dull blade can tug on hair, causing discomfort. You can sharpen blades yourself or get them professionally done. A sharp blade not only cuts efficiently but also protects the scalp from nicks and irritation. Follow these steps and your clippers will help you ace the fade haircut every time.
Styling and Personalizing the Fade
How to Style Different Fade Variations
Once you have mastered the fade haircut, it’s time to style and personalize it. Depending on the length and style desired, you can craft various looks to match your client’s personality or the latest trends.
- For a classic look, try a ‘Pompadour Fade’ where the hair on top is longer and swept back.
- The ‘Textured Crop Fade’ works well for a modern touch, using shorter hair on top with added texture.
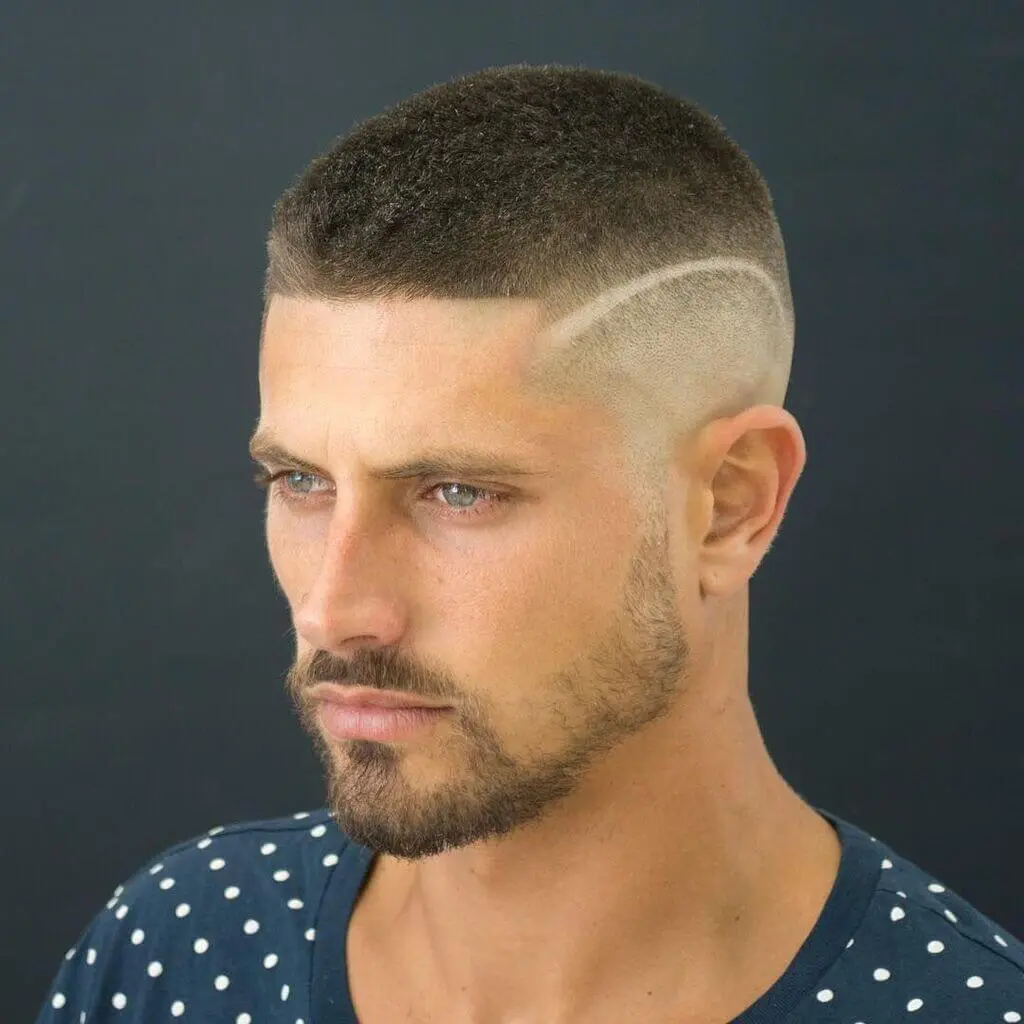
- A ‘Buzz Fade’ is great for low maintenance, keeping the hair extremely short but with a clear fade effect.
- For those preferring a sharper edge, the ‘High and Tight Fade’ is a good choice, with skin tight sides and a small, neat top.
Remember to use your comb and appropriate styling products to achieve the desired effect. Practice different styles to offer variety and meet the specific needs of your clients.
 Adapting the Fade for Different Occasions
A fade haircut can be versatile, suitable for various events and lifestyles:
- For a professional and polished look, keep the top neat with a ‘Business Fade’, styled with a side part.
- A ‘Casual Fade’ can be achieved by allowing some natural waves to show through on the top, with less structured styling.
- When heading to a party or special event, style the hair with more volume or texture for a ‘Party Fade’.
- For athletic clients, consider a ‘Sporty Fade’ that’s both stylish and functional, keeping the hair out of the face.
With the right techniques and some creativity, you can adapt the fade to fit any occasion, ensuring your client looks their best wherever they go. Remember to walk your client through the styling process so they can maintain their look at home.

