Cutting your own hair can seem like a daunting task, especially if you’ve never done it before. However, with the right tools, techniques, and a little practice, you can achieve a professional-looking haircut in the comfort of your own home. Learning how to cut your own hair with clippers will not only save you money but also give you the freedom to express your style whenever you want. In this guide, we’ll walk you through the steps, tips, and tricks for successfully cutting your own hair.
Choosing the Right Clippers and Accessories
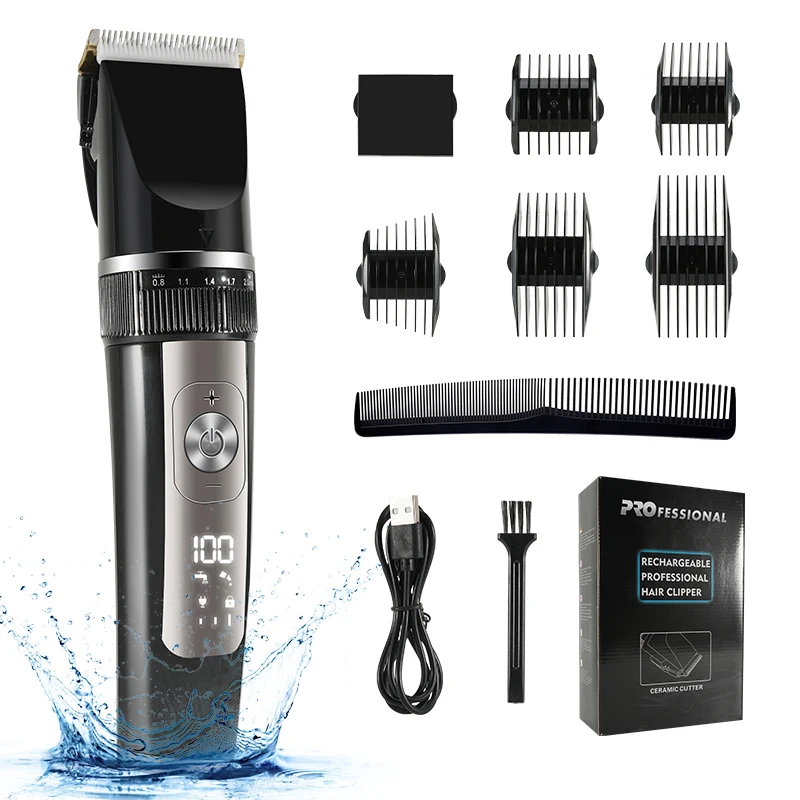
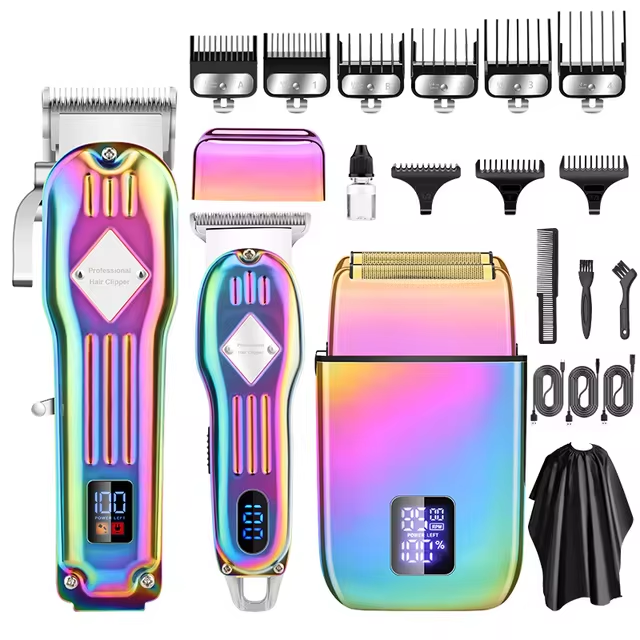
Choosing the ideal hair clippers is essential for a flawless DIY haircut. High-quality clippers ensure an even cut and longer-lasting performance. Start by selecting a reputable brand like Wahl, Andis, Oster, or Remington. These brands offer reliable and powerful clippers, suitable for home use. Aim for a clipper set that includes various guard sizes. Guards control the length of your hair cut, giving you more styling options. Ensure your clippers come with a taper lever. This lever allows for more precision and helps with blending and fading.
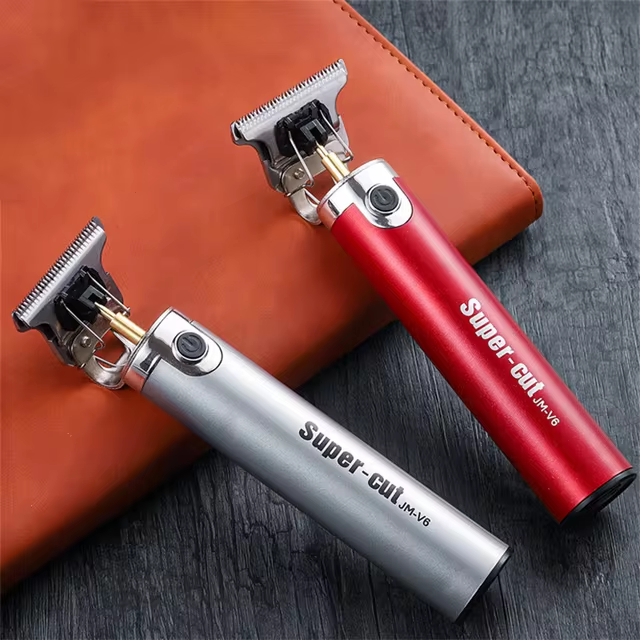
Look for clippers that feel comfortable in your hand. Lightweight models reduce fatigue during longer cutting sessions. If flexibility is important, consider cordless clippers. Cordless models offer more freedom of movement but check battery life and power. Your kit should have cleaning accessories, like brushes and blade oil. Proper maintenance keeps your clippers sharp and hygienic. Clippers with self-sharpening blades can be a smart choice for durability. Extras like ear taper guards, scissors, and a storage case add value. With the right clippers and accessories, you’re set to achieve a professional-looking haircut at home.

Step-by-Step Guide to Preparing Your Hair
Before you start cutting your hair with clippers, proper preparation is key. Here’s a simple, clear guide to get your hair ready for trimming:
- Wash and Dry Your Hair: Start with clean, dry hair. This helps you see the true length and makes cutting easier.
- Comb Through Your Hair: Use a fine-tooth comb to untangle your hair. Smooth hair cuts more evenly.
- Choose Your Guard Size: Pick the right guard for your desired length. Remember, you can always cut more if needed.
- Set Up Your Space: Make sure you have good lighting and a mirror. A handheld mirror helps you see the back.
- Have Your Tools Ready: Get your clippers, guards, comb, and scissors within reach. This makes the process smoother.
- Dry Run: Practice with the clippers off to get a feel for the angles and motions.
- Start with Larger Guards: It’s safer to begin with a longer cut and go shorter gradually.
- Keep a Steady Hand: Maintain a firm grip on the clippers for consistent pressure and length.
By following these steps, you’ll ensure a clean and even haircut with minimal mistakes. It’s all about being patient and careful throughout the process.
How to Cut the Top of Your Head
Cutting the top of your head requires precision and care. Here’s a straightforward method to ensure you get it right:
- Choose the Appropriate Guard: Attach the #4 guard to your clippers as it’s ideal for beginners. This offers a moderate length without cutting too short.
- Begin at the Front: Start from your forehead and move the clippers back towards the crown. Keep the clippers flat against your head to ensure an even length.
- Work in Rows: Move the clippers in rows from the front to the back. Overlap each row slightly to avoid missing any spots.
- Check for Evenness: Halfway through, stop and check for any uneven spots. Use a mirror or feel with your fingers.
- Adjust Guard for Longer Hair: If you prefer the top to be longer than the sides, switch to a #6 guard for a softer transition.
- Cross-Check Your Cut: After the initial straight rows, go back and cut in a perpendicular direction. This cross-checking technique helps catch any missed areas and improves the blend.
By following these steps, you can achieve a clean and even haircut on the top of your head, paving the way for more detailed side and back trimming.
Techniques for Trimming the Sides and Back
When trimming the sides and back of your hair, you’ll want a smooth transition and a clean finish. Here are the steps:
- Start With a Longer Guard: Begin with a guard that’s one or two sizes shorter than the one used on the top of your head. This ensures a gradual fade.
- Work from Bottom to Top: Place the clippers at the base of your head and move upward. Tilt the clipper slightly away from your head as you reach the point where the sides meet the top.
- Use Rocking Motion: As you move the clippers up, rock them in a half-circle motion. This technique helps blend the hair lengths.
- Swap Guards for Shorter Lengths: Gradually change to shorter guards as you move down the sides and back for a nice fade.
- Check for Symmetry: Frequently stop to compare both sides for an even cut. Use a hand mirror to check the back.
- Edge with Precision: For clean lines around the ears and neckline, use no guard or the shortest one. Trim carefully to outline your haircut.
Remember to move slowly and check often. Take your time to ensure a balanced look and avoid uneven cuts.
Blending and Fading Basics
Blending and fading your hair properly creates a smooth, professional-looking transition. Here are simple steps to master these techniques:
- Choose Your Tools: Use clippers with a lever to adjust blade length for fine-tuning.
- Start Longer: Always start with a longer guard and work down to avoid cutting too short.
- Understand Guard Numbers: Lower numbers mean shorter hair. Gradually switch to lower-numbered guards as you blend down.
- Create a Fade Line: Identify where you want your fade to begin. Use this as a blending guide.
- Work the Lever: Use taper lever to adjust length for precise fading. Move between lengths smoothly.
- Use Mirror Checks: Frequently check your progress in the mirror to ensure even fades.
- Maintain Angles: Keep clippers at consistent angles for uniform cuts. Adjust as needed for head shape.
- Go Slowly: Rushing can lead to mistakes. Take your time and work with care.
- Touch Up: Use no guard on the clippers for clean edges and crisp lines around the ears and neck.
By following these basics, blending and fading at home becomes less daunting. You’ll achieve a seamless look that mirrors professional haircuts.
 Detailing Your Haircut: Neckline and Sideburns
Once you’ve completed the bulk of your haircut, it’s time to focus on the finer details. Detailing is what takes your haircut from amateur to professional-looking. Here’s how to do it:
Trim the Neckline
A tidy neckline gives a neat overall appearance to your haircut. Here are steps to achieve it:
- Choose the Right Guard: Use the shortest guard that matches your hairstyle.
- Define the Neckline: Tilt your head forward and trim from the bottom up.
- Use Mirrors: Position a handheld mirror to see the back of your neck.
- Go Slow: Take your time to ensure a straight and even line.
Shape the Sideburns
Sideburns frame your face and require careful attention. Follow these instructions:
- Decide on Length: Determine where you’d like your sideburns to end, often in line with the middle of the ear.
- Trim Evenly: Ensure both sideburns are trimmed to the same length for balance.
- Use Precise Movements: Create a clear line with the edge of the clippers.
By meticulously detailing your neckline and sideburns, you reinforce the sharpness of your haircut. These touches distinguish a self-cut style with the finesse of a professional trim.
Cleaning and Maintenance of Clippers
To keep your hair clippers working like new, regular cleaning and maintenance are vital. Following a few simple steps will not only prolong the life of your clippers but will make sure they cut your hair effectively each time. Here are the essential steps for maintaining your clippers:
- Turn off and Unplug: Always disconnect your clippers from any power source before cleaning.
- Brush off Hair: Use the cleaning brush provided with your kit to remove loose hairs from the blades.
- Oil the Blades: After every few uses, apply clipper oil to the blades. Just drop a few drops and let it run for a moment.
- Clean Blades with Alcohol: Use a soft cloth with rubbing alcohol to wipe the blades. This disinfects and removes any stubborn grime.
By following these steps after each haircut, you’ll ensure your clippers stay sharp, clean, and ready for the next DIY haircut session.
 Tips for a Lasting and Fresh Haircut
Maintaining a fresh haircut seems challenging, but some easy tips can extend its life. Following are the top strategies:
- Regular Touch-Ups: Address sideburns and the neckline every few days. This keeps edges sharp and clean.
- Hydration and Care: Use a conditioner fortnightly. It keeps hair healthy, making the cut look better, longer.
- Avoid Over-Washing: Daily washing strips essential oils. Wash your hair thrice a week to keep it fresh without drying it out.
- Use the Right Products: Select hair products that suit your hair type. Proper products help maintain the hairstyle and health of your hair.
- Proper Tools: Regularly clean and oil your clippers. Sharp and clean tools ensure precise cuts and less hair pull.
- Cool Water Rinse: Finish your hair wash with cool water. It seals moisture and gives shine.
- Minimal Heat Styling: Reduce the use of heat styling tools. Excessive heat can damage hair and shorten the life of your haircut.
Following these tips will help maintain your look without constant trips to the barber.

