 by
by Cutting your own hair might seem daunting at first, especially if you’ve always relied on a professional stylist. However, with the right tools, techniques, and a bit of confidence, you can easily maintain your hairstyle at home. In this guide, we’ll walk you through the step-by-step process of how to cut your own hair with clippers, ensuring you achieve a great look without the salon price tag.
Understanding Your Hair Clipper
Choosing the Right Clipper
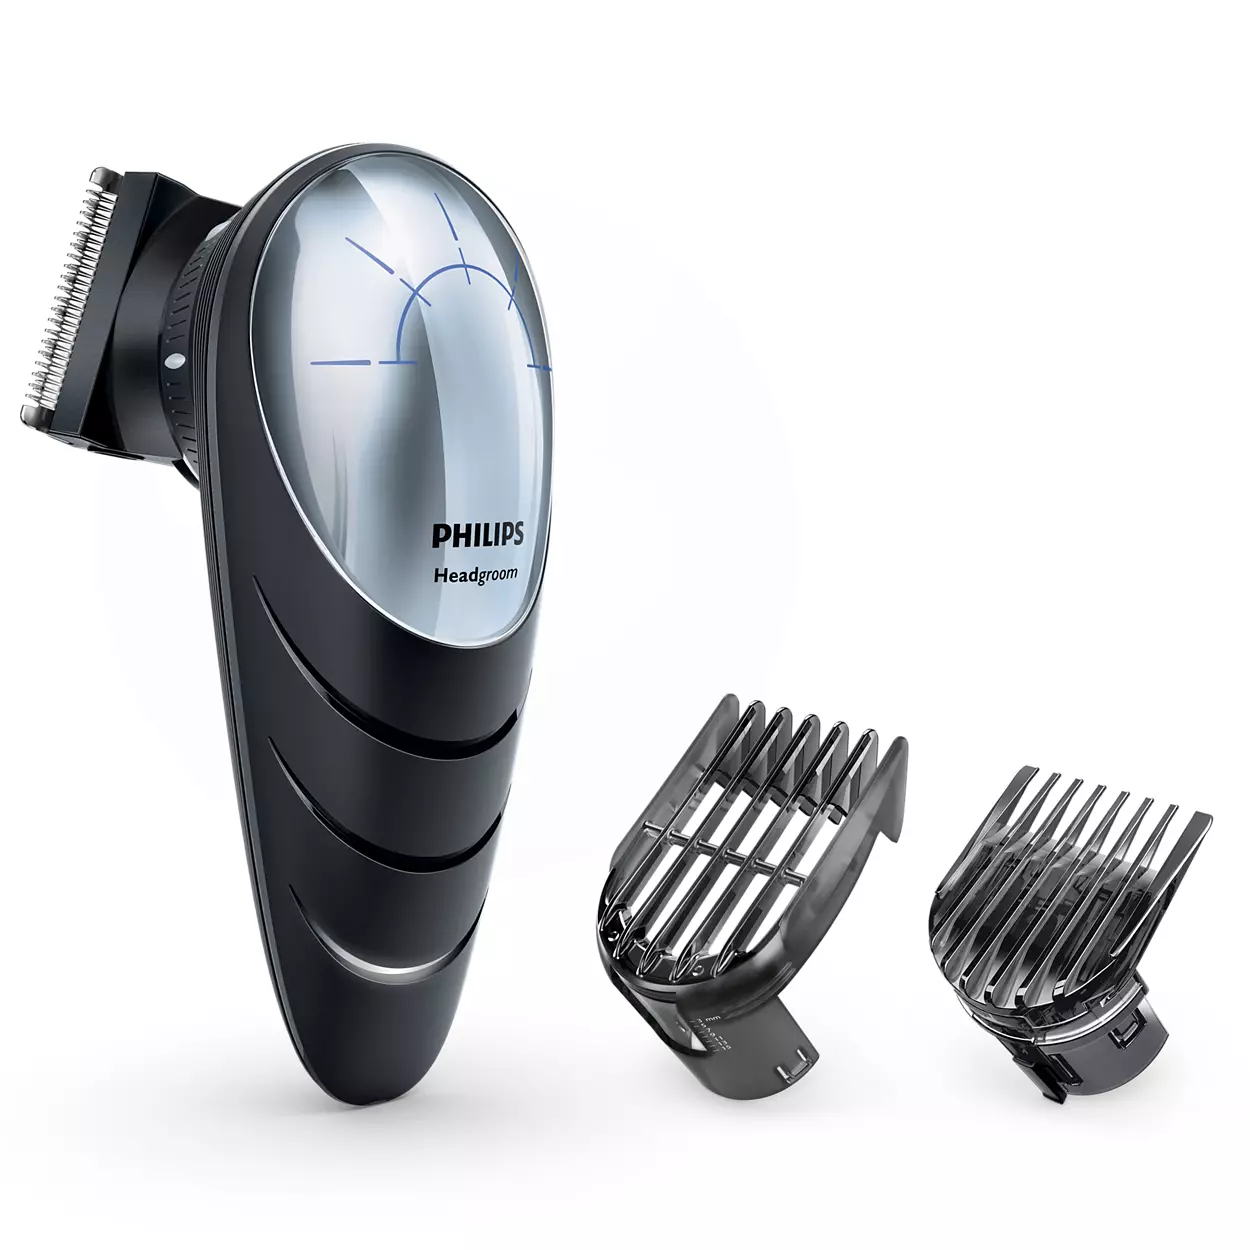
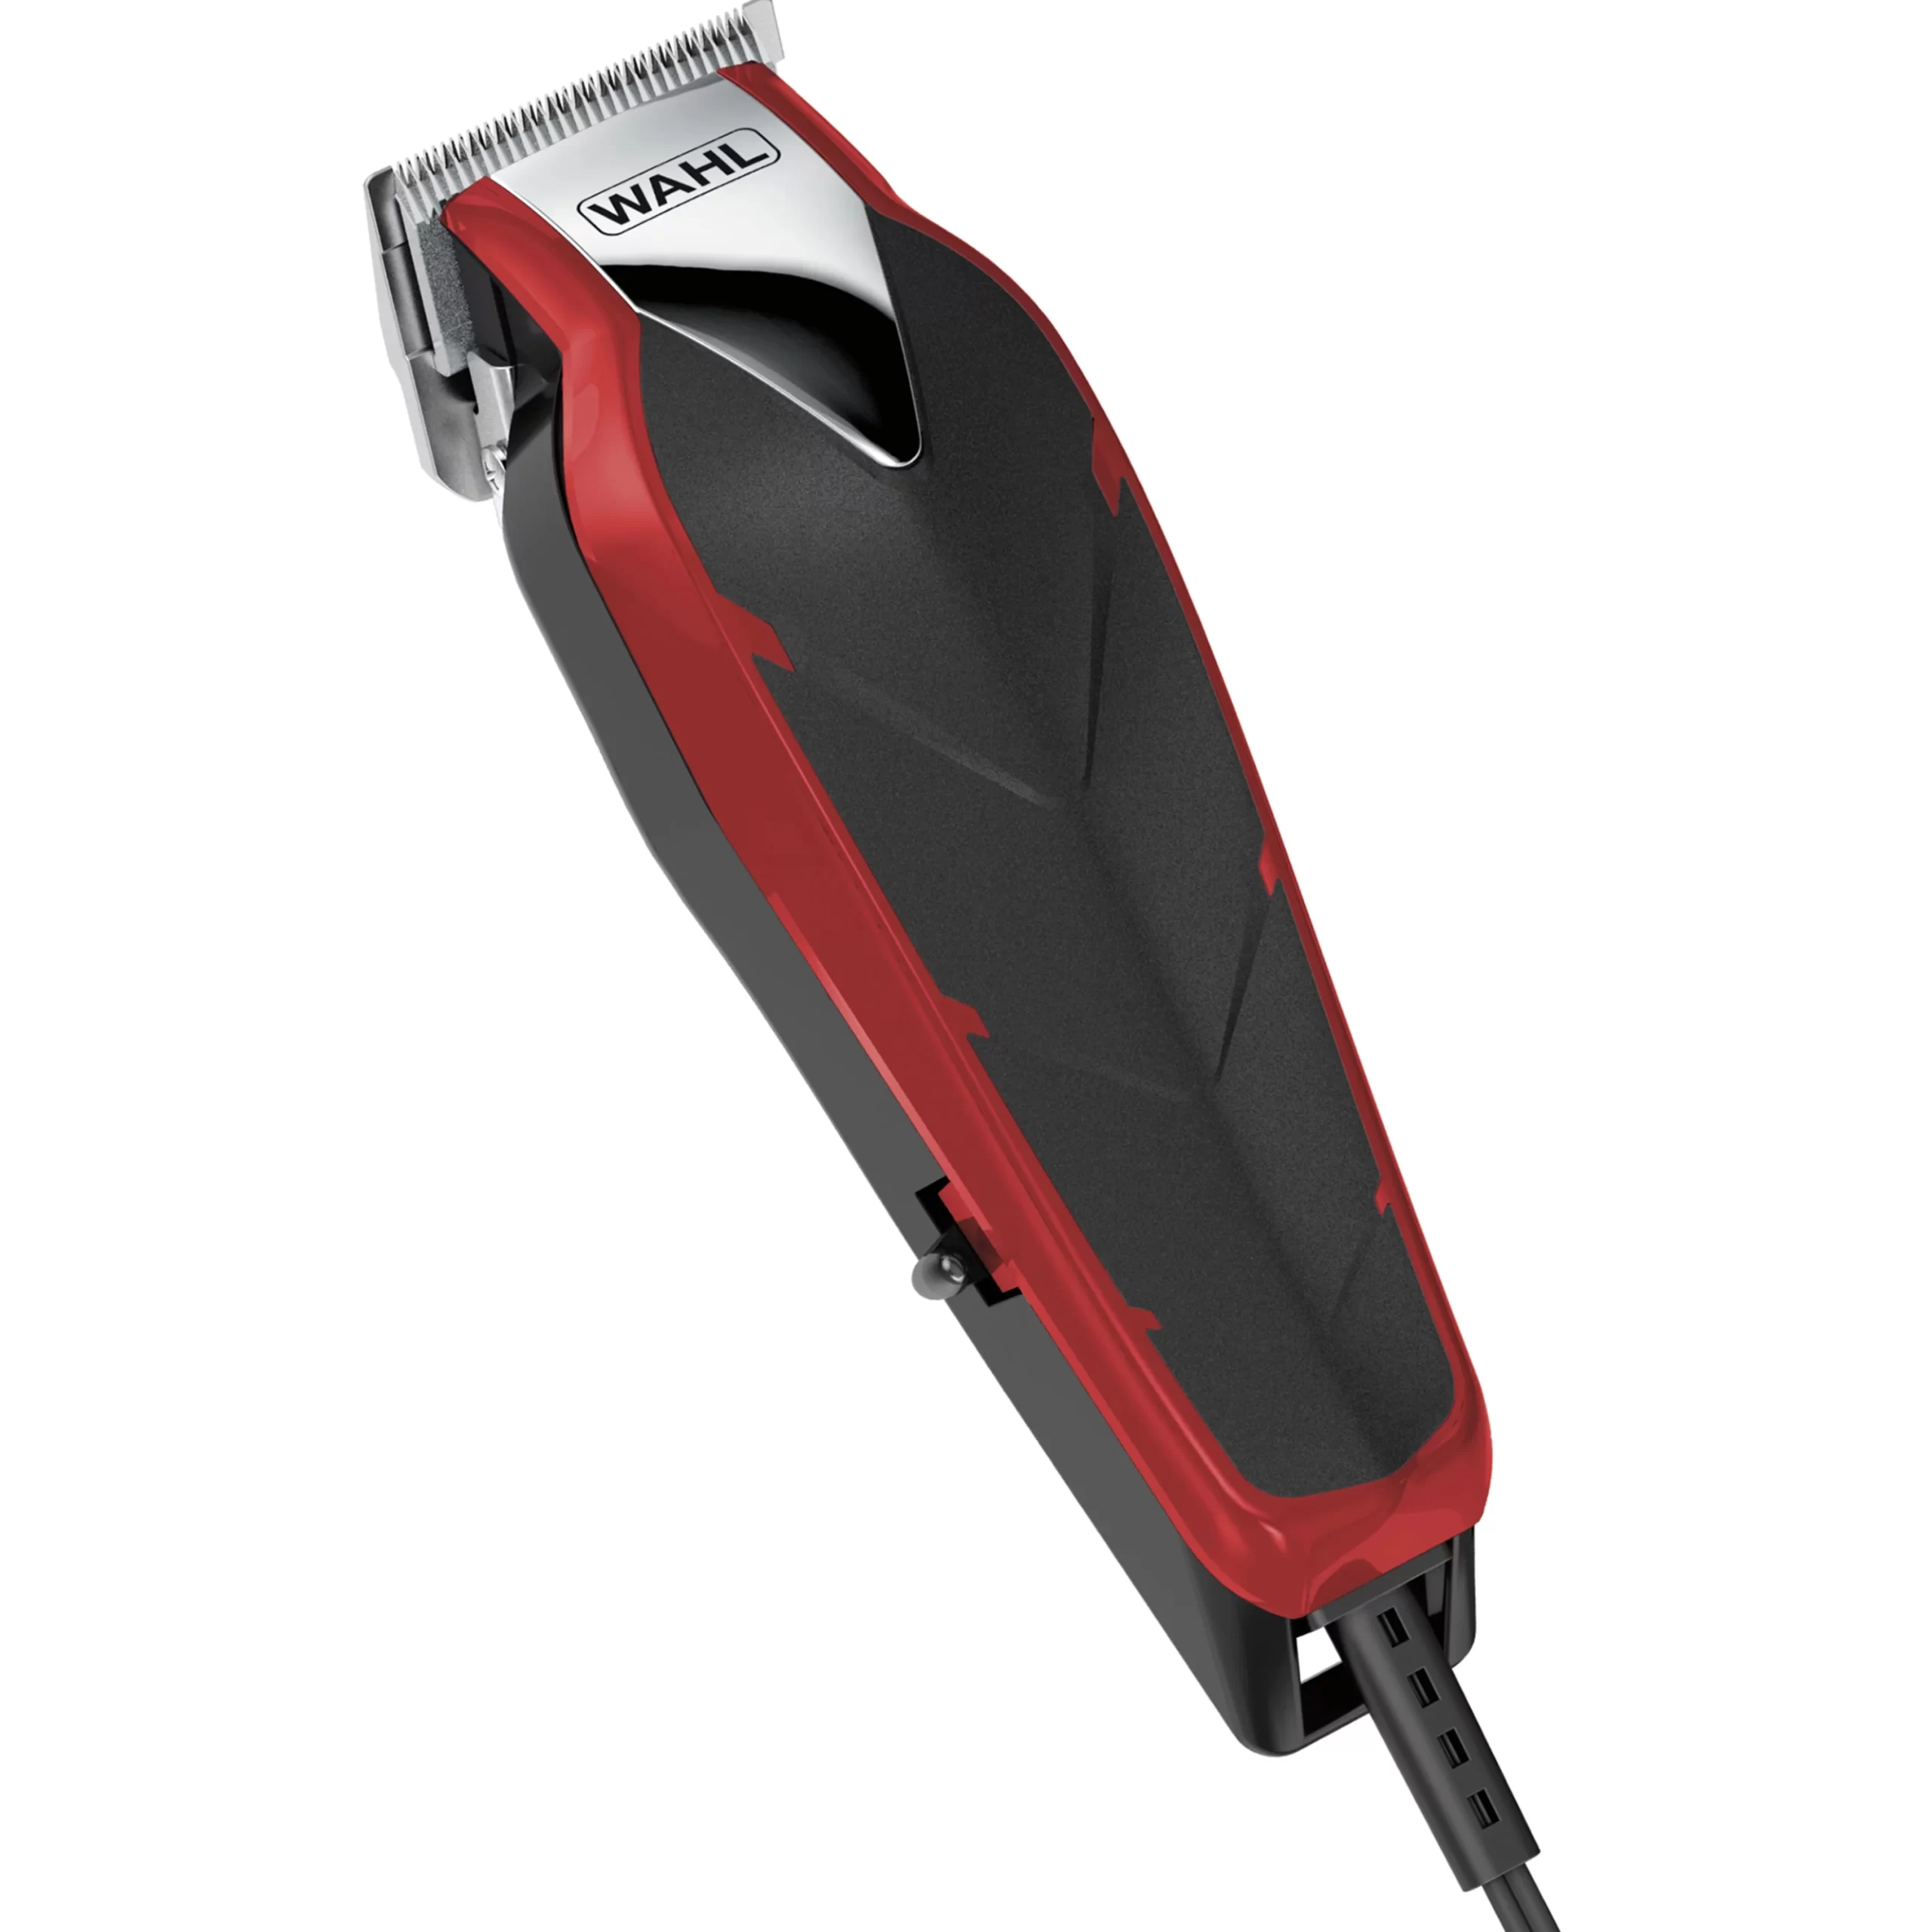
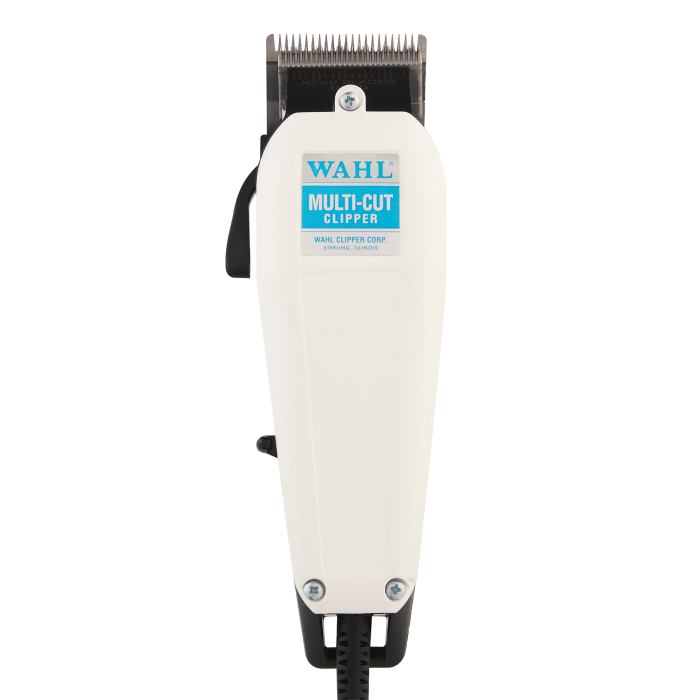
Before starting the cutting process, it’s crucial to select the right clipper. There are different types of hair clippers available on the market today, each designed with specific features and functionalities. When selecting clippers, consider the following:
- Corded vs. Cordless: Corded clippers tend to have more power, while cordless options offer flexibility and ease of movement. If you’re new to cutting your own hair, a cordless model might be more convenient.
- Motor Strength: Look for clippers with a strong motor that can handle all hair types. A powerful motor will allow you to cut hair more smoothly and reduce tugging.
- Adjustable Blade: Clippers with adjustable blades can provide various lengths of cuts without needing to change guards.
Clip Guard Sizes Explained
Clip guards are essential for achieving a uniform cut. They come in various sizes, typically ranging from 1 to 8, with each number corresponding to a specific length of hair. It’s essential to understand how these sizes work:
- No Guard (0): Fades the hair down to the skin.
- Guard 1 (1/8 inch): Very short, typically used for a buzz cut.
- Guard 2 (1/4 inch): A bit longer, suitable for a close crop.
- Guard 3 (3/8 inch): Good for a short hairstyle with some texture.
- Guard 4 (1/2 inch): Offers a classic short look, ideal for low-maintenance cuts.
- Guard 5 (5/8 inch): Provides a bit more length while still being manageable.
- Guard 6 (3/4 inch): For those who prefer longer, layered looks.
- Guard 7 (7/8 inch): A longer cut for creating soft layers.
- Guard 8 (1 inch): Adds significant length for a more relaxed style.
Cleaning and Maintenance
Before you start, ensure your clippers are clean and well-oiled. Regular maintenance will prolong the life of your clippers and ensure they operate efficiently. Here’s how to clean them:
- Unplug your clippers: Safety first!
- Remove any hair from the blades: Use a small brush to get rid of hair clippings.
- Oil the blades: Put a few drops of clipper oil on the blades to keep them lubricated and running smoothly.
Preparing to Cut Your Hair
Finding the Right Space
Choose a well-lit area where you can see all angles of your hair clearly. It is advisable to have a chair in front of a large mirror with an additional handheld mirror for the back of your head. Prepare your space to catch the clippings by laying down an old towel or a sheet.
Gathering Essential Tools
To ensure a smooth hair-cutting process, gather the following tools:
- Hair clippers
- Several clip guards
- Comb
- A pair of sharp hair scissors for any finishing touches
- A spray bottle with water (optional)
- A mirror with good lighting
- A vacuum or broom for cleanup
Washing and Drying Your Hair
Begin with clean, dry hair. If your hair is dirty or greasy, it may become tangled and hard to cut. Wash your hair with shampoo and conditioner and then dry it thoroughly.
Step-by-Step Guide to Cutting Your Own Hair
1. Section Your Hair
Before you begin cutting, divide your hair into manageable sections. Use clips to hold back the hair you’re not currently cutting. Depending on your hair’s length and thickness, you can section your hair into:
- Top Section: The top of your head.
- Side Sections: The left and right sides of your head.
- Back Section: The lower part of the back.
2. Start with the Sides
Using a guard suitable for your desired length, begin cutting the sides of your hair:
- Attach the chosen guard: Make sure it’s securely attached to the clippers.
- Start at the Bottom: Begin cutting from the bottom of the hair and move upward. Make sure to hold the clippers perpendicular to your head.
- Work in Sections: Cut small sections of hair progressively to ensure an even finish.
- Blend: If you want to create a fade, switch to the next longer guard as you move up toward the top of your head.
3. Cut the Back
Cutting the back can be tricky, but using a handheld mirror should help you see what you’re doing. Follow the same cutting procedure:
- Take Your Time: Don’t rush through this step.
- Use the Mirror: Occasionally look into the handheld mirror to check your progress.
- Adjusting for Mistakes: If you notice any unevenness, don’t hesitate to adjust by going back over problem areas.
4. Trim the Top
Once you’ve completed the sides and the back, it’s time to tackle the top of your hair:
- Select a Longer Guard: For the top, you may want a guard that’s one or two sizes longer than what you used on the sides.
- Cut Against the Grain: Run the clippers against the direction of hair growth for an even cut.
- Check for Evenness: Make sure to run your fingers through your hair and assess whether the length is uniform.
5. Detailing and Finishing Touches
After you’ve finished the main cut, use scissors for detailing:
- Look for Long Strands: Identify any long strands or areas that need adjusting.
- Use the Scissors: Snip these areas carefully for a polished look.
- Define Edges and Neckline: You can either use the clippers or scissors to neaten up the edges at your temples and around your neck.
6. Clean-Up
Once you’re happy with the cut, clean up your area:
- Dispose of Hair Clippings: Either collect the clippings in a bag or use a vacuum.
- Clean Your Tools: Ensure your clippers and scissors are properly cleaned and stored away.
- Shower or Clean Up: Always shower afterward to remove any lingering hair clippings.
Trouble Shooting Common Issues
Uneven Cuts
If you end up with uneven sections, don’t panic. You can usually rectify the problem by taking the clippers and gently blending the areas that look different in length.
Cutting Too Short
If you’ve cut your hair too short, don’t fret. Hair grows back! In the meantime, you can experiment with different hairstyles like a beanie or bandana to help conceal your cut.
Cowlicks and Texture
If you have thick or textured hair, you may need to be more patient when cutting. Make sure to cut in smaller sections and often check your progress to maintain balance.
 Creating Different Styles
Buzz Cut
If you want an ultra-low maintenance look, you can opt for a buzz cut:
- Use a guard size of your choice – typically a guard #2 or #3.
- Ensure you keep the clippers moving for an even finish.
Tapered Look
For a tapered haircut, use a shorter guard on the sides (like #2) and a longer one on the top to create a gradient effect.
Textured Styles
For more textured hairstyles, use scissors at the top to create layers while keeping the sides short. This gives a more lived-in look.
Conclusion: how to cut own hair with clippers
Learning how to cut your own hair with clippers can be a great way to save money and maintain your look between salon visits. With practice and the right techniques, you can achieve a professional-looking hairstyle at home. Remember to take your time, look in the mirror to check your work, and don’t be afraid to make adjustments as needed. Happy cutting!