Introduction:
Cutting your hair at home can seem like a daunting task, but with the right approach and tools, it can be a fulfilling experience. Learning how to cut your hair with clippers not only saves money but allows you to maintain your desired hairstyle in between salon visits. This guide will give you step-by-step instructions, tips, and tricks, ensuring that you’ll feel confident and satisfied with your haircut.
Understanding Hair Clippers
What Are Hair Clippers?
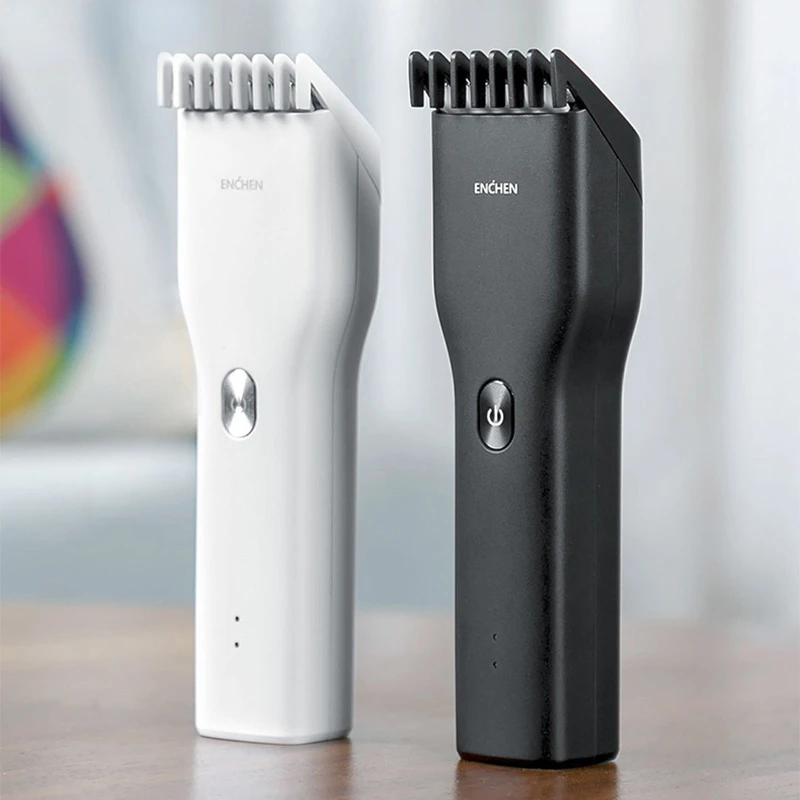
Hair clippers are electric devices designed to trim hair to specific lengths. Unlike scissors, which are generally used for more detailed cuts, clippers are more efficient for bulk hair removal and creating uniform hair lengths. They typically come with different guard sizes, allowing you to achieve various lengths.
Different Types of Clippers
When you learn how to cut your hair with clippers, it’s essential to understand the different types available:
- Corded Clippers: These are powerful and great for continuous use, but you’ll need to stay close to a power source.
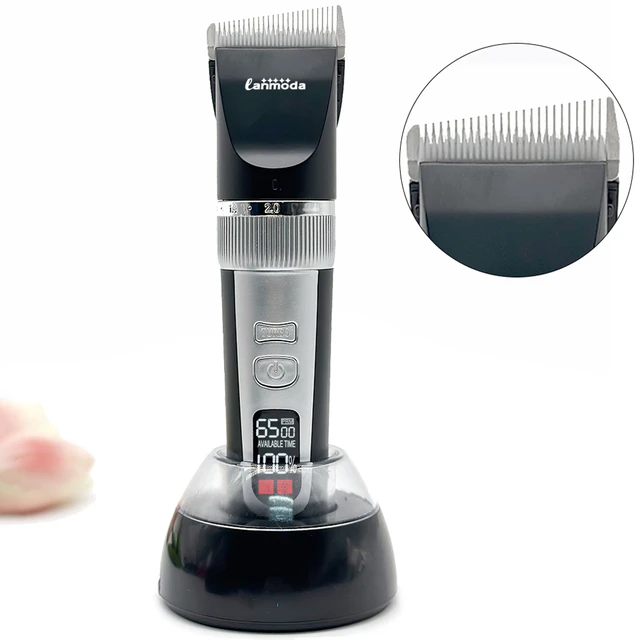
- Cordless Clippers: Offering freedom of movement, these models generally have shorter battery lives but are more convenient for home use.
Essential Accessories
Before you begin, make sure you have the following accessories:
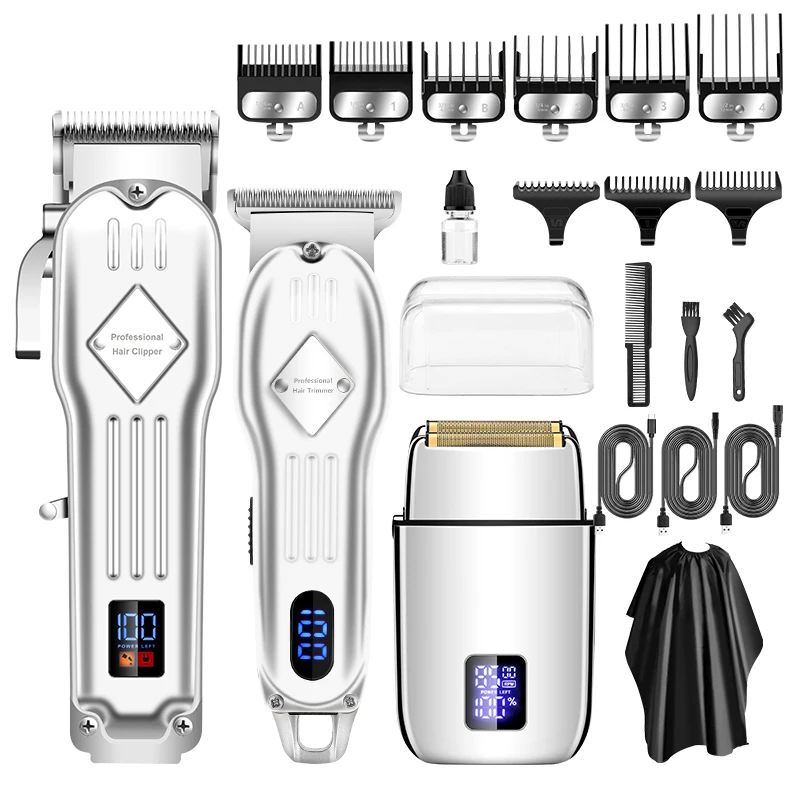
- Clipper Guards: These attachments allow you to control the hair length.
- Comb: Useful for parting and lifting hair.
- Duster Brush: Helps remove loose hair from your neck and clothes.
- Mirror: Ideally, a two-way mirror enables you to see your hair from all angles.
- Cape or Towel: To keep hair off your clothes and minimize mess.
Preparing for Your Haircut
Gather Your Supplies
Once you’ve chosen your clippers and accessories, gather all your tools in one place. This will ensure that you have everything you need and minimize interruptions during the haircut.
Clean Your Hair
Start by washing your hair to remove any product buildup and dirt. Clean hair will give you a clearer view of your natural texture and make it easier to cut. After washing, dry your hair thoroughly. Depending on your hair type, you might want to blow-dry it to make it easier to manage.
Choose a Good Location
Select a well-lit area with a mirror that provides good visibility. Consider the aesthetic of the space—an area with a hard floor is preferable to carpet, as cleaning up hair will be easier. Lay down a towel or a cape to catch falling hair.
Step-by-Step Hair Cutting Process
Step 1: Decide on Your Haircut
Before you begin, decide what kind of cut you want. If you’re using clippers, standard styles like buzz cuts, fades, or undercuts are easier to achieve. Research styles you like by looking up images or watching tutorial videos.
Step 2: Start with Longer Guards
If you’re unsure about how short to go, it’s always best to start with a longer guard. This will give you the flexibility to take more hair off later if necessary. Generally, a #4 or #5 guard is a safe bet to start with.
Step 3: Section Your Hair
Use a comb to part your hair into manageable sections. This will allow you to tackle one part at a time. For instance, you can start with the back, then move to the sides, and finally work on the top.
Step 4: Begin Cutting
- Turn On the Clippers: Before you approach your head, ensure the clippers are working properly. Run the clippers through your hand to feel for any pulls or snags.
- Hold the Clippers Properly: Grip the clippers like you would hold a pencil. The clipper’s surface should be flat against your scalp.
- Start at the Back: Begin cutting at the nape of your neck. Move the clippers upward and slightly away from your scalp to avoid cutting too close. This technique will help create a smooth transition.
- Cut the Sides: Move to the sides, following the same process. Remember to keep the clippers at an angle for a more blended look.
- Trim the Top: For the top section, you can use whatever guard length you feel comfortable with. Move the clippers through the hair from front to back in a straight line.
Step 5: Checking for Evenness
After cutting all sections, check for uneven spots. A beloved tip is to run your fingers through your hair and feel for areas that might still be longer than others. It’s advisable to have a handheld mirror to check the back of your head.
Step 6: Blend the Hair
Achieving a blended look is often the most challenging part of using clippers. Here’s how you can perfect this step:
- Use Different Guards: Start with a longer guard and gradually work down to a shorter one for a more natural fade.
- Comb Technique: Using a comb can help lift long hair and expose shorter hair underneath. This will make it easier to blend.
- Overlapping Cuts: Begin at the bottom with the highest guard and work upward, overlapping previous cuts to ensure a smooth transition.
Step 7: Final Touches
- Clean the Neckline: Use the clippers without a guard or with the shortest guard to clean up the neckline, ensuring a neat finish.
- Tidy Up: Double-check any uneven patches and fine-tune them as needed.
Maintenance and Tips for Future Cuts
Regular Touch-Ups
Learning how to cut my hair with clippers means establishing a maintenance routine. Depending on how fast your hair grows, touch-ups should ideally happen every 4-6 weeks.
Learn and Adapt
The more you practice, the more skilled you will become. Don’t be discouraged if your first few attempts don’t turn out perfectly. Each haircut will provide valuable experience.
Keep It Clean
Regularly clean your clippers by removing any hair buildup. Lubricate the blades to keep them functioning well for years to come.
Explore New Styles
Once you’ve mastered the basics, consider experimenting with different styles. From fades to creative designs, the options are endless.
Safety Precautions
Avoiding Injuries
When using clippers, make sure to be cautious. Never rush your cuts, and always pay attention to the area you are cutting.
Keeping Clippers Cool
Using clippers for an extended time can lead to overheating. Pausing every few minutes can help maintain the lifespan of your clippers.
Mind Your Skin
If you have sensitive skin, consider using a guard to minimize the risk of nicks or irritation.
 Hair Care Post-Cutting
Conditioning
After cutting, use a good conditioner to keep your hair healthy and reduce any dryness or flakiness from clippings.
Regular Cuts
To maintain your style, consider cutting your hair every few weeks. This not only keeps it looking fresh but also allows you to refine your techniques as you go.
Professional Touch: When to Seek Help
While cutting hair at home saves money and time, there are instances where it’s best to consult a professional:
- Complex Styles: If you are attempting a complicated haircut, consider getting it done by a stylist.
- Uneven Cuts: If your cut has gone wrong, a professional can fix any mistakes.
- Special Occasions: For important events, having a professional cut can ensure you look your best.
Conclusion: Embrace the Learning Experience
Learning how to cut my hair with clippers can empower you, giving you the freedom to express your individuality while saving money. From preparing your tools and location to executing the haircut and performing maintenance, this guide provides a comprehensive approach to DIY haircuts. Embrace your creativity, practice regularly, and enjoy the journey of mastering your own hairstyling. As you continue to refine your skills, you’ll find that cutting your hair at home can become not just a necessity, but a delightful routine!


