 by
by Hair clippers are essential tools for barbers and hairstylists alike, ensuring that haircuts are smooth, clean, and professional. However, over time, the blades on these clippers can become dull and inefficient. This can lead to uneven cuts, snagging hair, and an overall frustrating experience for both the stylist and the client. One critical aspect of maintaining your hair clippers is sharpening the blades. In this guide, we will delve deep into hair clippers sharpening, exploring the techniques, tools, and best practices that can help keep your clippers in prime condition.
Understanding Hair Clippers
What Are Hair Clippers?
Hair clippers are electrically powered tools that are specifically designed to cut hair quickly and efficiently. They consist of a main body that houses the motor and clippers heads, along with various guards that allow for different hair lengths. The effectiveness of a hair clipper largely depends on the sharpness of its blades.
Types of Hair Clippers
There are various types of hair clippers available on the market, including:
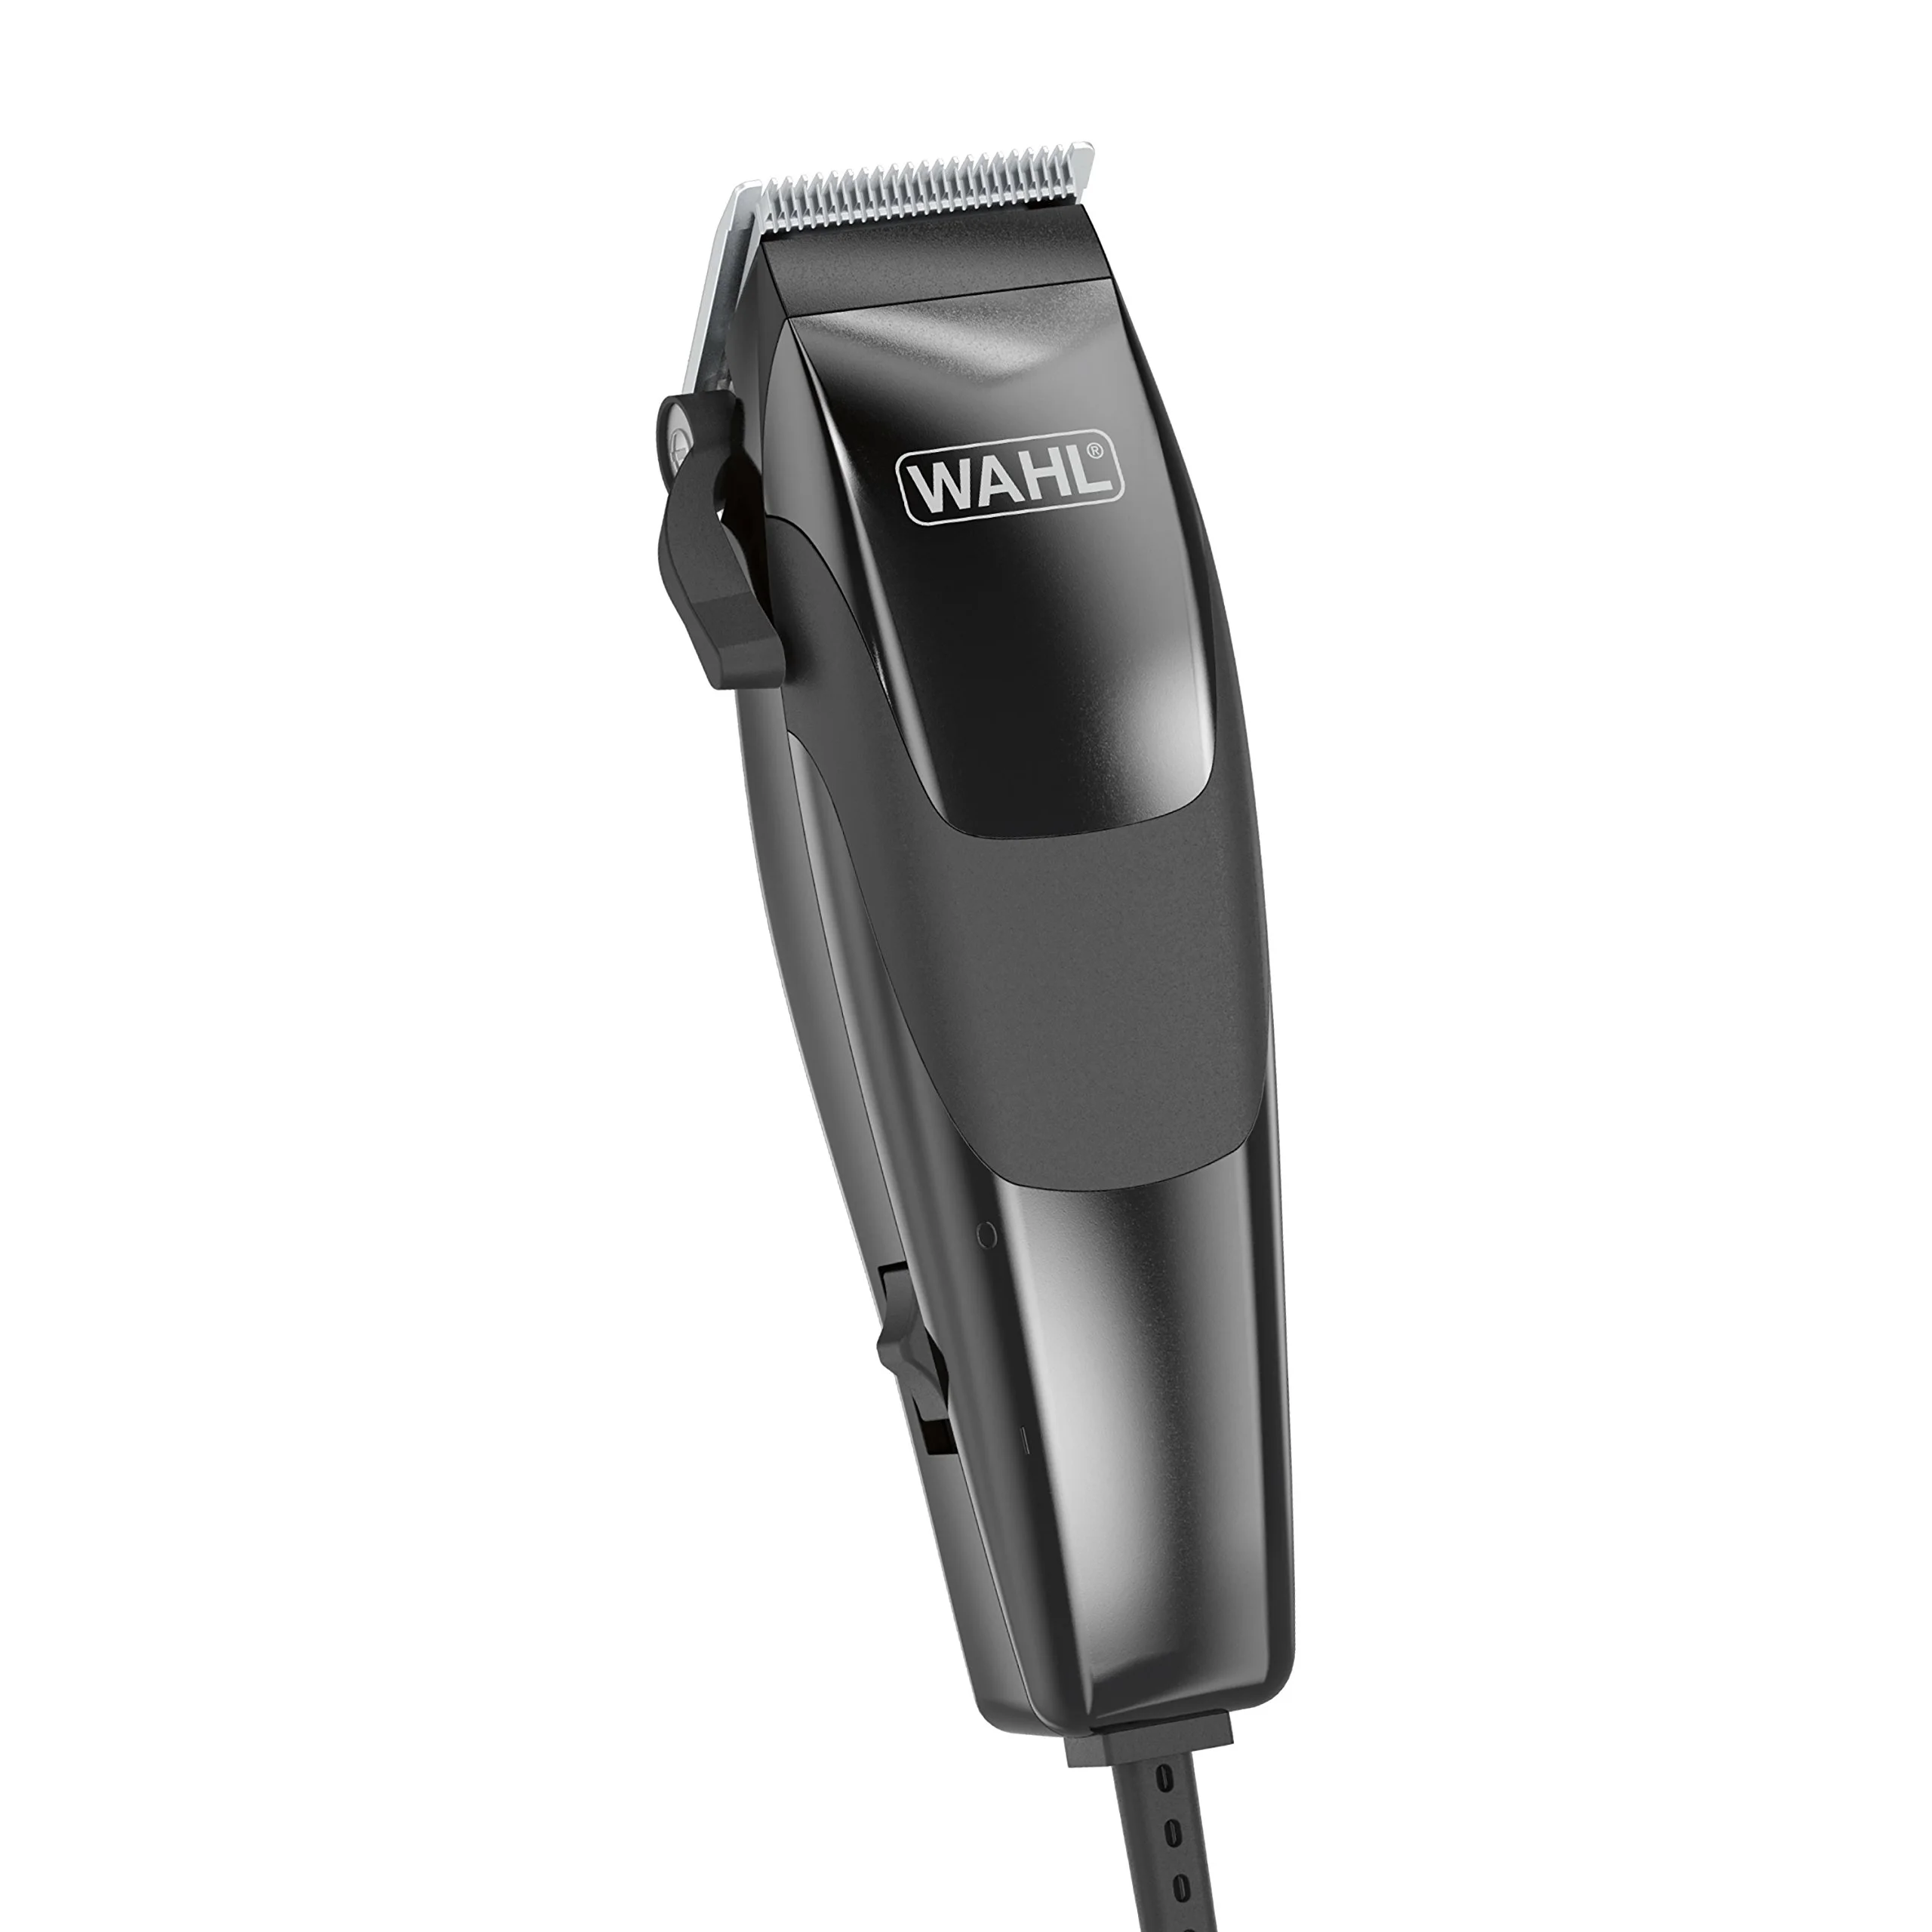
- Corded Hair Clippers: Traditionally favored by professional barbers, these clippers are always powered and provide consistent performance.
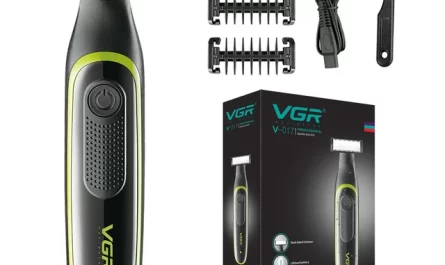
- Cordless Hair Clippers: These offer more flexibility and mobility, making them ideal for home users or barbers on the go. However, they require regular charging.
- Adjustable Blades: Some clippers feature blades that can be adjusted to different lengths, allowing for versatile styling options.
- Detachable Blades: These clippers allow users to switch out the blades easily for specialized cutting techniques.
Why Sharpen Hair Clippers?
Maintaining Performance
Keeping your hair clippers sharp is vital for their performance. Dull blades can lead to pulling, tugging, and overall inefficient haircuts. This can be uncomfortable for clients and may even cause damage to the hair.
Prolonging Lifespan
Regular sharpening can extend the lifespan of your clippers. Dull blades cause more friction and heat, which can wear down the motor over time. By maintaining blade sharpness, you reduce unnecessary wear and tear on the entire unit.
Cost-Effectiveness
While it may be tempting to replace dull clippers or pay for a professional sharpening service, taking the time to sharpen the blades yourself can save you money in the long run. A sharp set of clippers can perform well for years with the right care and maintenance.
Tools Required for Hair Clippers Sharpening
Basic Tools
- Clipper Blade Sharpener: These specialized sharpeners come designed specifically for clipper blades, ensuring a perfect angle during sharpening.
- Honing Stone: A honing stone can also be used to refine the edges of the blades.
- Lubricating Oil: After sharpening, it’s essential to oil the blades to maintain their performance and prevent rust.
Optional Tools
- Dremel Tool: For those experienced in using power tools, a Dremel can speed up the sharpening process but also requires a steady hand.
- Magnifying Glass: To check the sharpness and condition of the blades closely.
- Cleaning Brush: Before sharpening, it’s important to remove hair and debris from the blades.
Step-by-Step Guide to Hair Clippers Sharpening
Step 1: Disassemble the Clippers
Before starting the sharpening process, disconnect the clippers from any power source. Carefully disassemble the clipper to expose the blades. Make sure to keep track of screws and parts so that the reassembly is seamless.
Step 2: Clean the Blades
Dust, hair, and residue can accumulate on the blades. Use your cleaning brush to remove any debris. A clean surface ensures that the sharpening process is more effective.
Step 3: Inspect the Blades
Look over the blades closely for any visible damage or wear. If the blades are chipped or significantly worn, consider replacing them rather than sharpening.
Step 4: Begin Sharpening
1 Method: Using a Clipper Blade Sharpener
- Align the sharpener according to the blade’s angle.
- Gently push the blade through the sharpener, applying light pressure. Avoid pressing too hard, as this can damage the blades.
- Repeat the process for both sides of the blades until you feel the edge is sharper.
2 Method: Using a Honing Stone
- Wet the honing stone to lubricate it.
- Hold the blade at a 30-degree angle against the stone.
- Slide the blade across the stone, applying light pressure.
- Flip the blade and repeat the process. Do this for both sides.
3 Method: Using a Dremel Tool
- Attach a sharpening bit to the Dremel.
- Turn on the tool and hold it at a slight angle to the blade.
- Gently move the Dremel along the blade, maintaining consistent pressure. Be cautious not to overheat the blade.
Step 5: Oil the Blades
Once sharpening is complete, apply a few drops of lubricating oil along the blades. This helps reduce friction when cutting hair and prevents rusting. Wipe away any excess oil with a cloth.
Step 6: Reassemble the Clippers
Carefully put the clippers back together, ensuring all screws and components are secured. Double-check that everything is in its proper place to avoid any operational issues.
Step 7: Test the Clippers
Before using the clippers on a client, perform a test cut on a spare piece of hair or cloth. This will help you evaluate the sharpness and ensure the clippers are working efficiently.
Preventive Maintenance for Hair Clippers
Regular Cleaning
After each use, it’s essential to clean your hair clippers. Remove any hair, dirt, or oil buildup using a soft brush. This helps prevent dulling and extends the lifespan of your clippers.
Oil the Blades Regularly
In addition to oiling the blades after sharpening, it’s crucial to lubricate them regularly. A drop of oil before each use can significantly improve the clippers’ performance.
Store Properly
When not in use, store your clippers in a safe place. Avoid leaving them exposed to moisture or dust, which can contribute to deterioration.
 Common Mistakes in Hair Clippers Sharpening
Over-Sharpening
One common mistake is sharpening the blades too aggressively or too frequently. This can lead to damage rather than improvement. Always assess whether the blades need sharpening before proceeding.
Neglecting the Motor
While sharpening blades is crucial, don’t forget the motor. Ensure that it remains clean and well-lubricated to maintain its efficiency.
Ignoring Blade Condition
Before sharpening, always inspect the blades carefully. Dull blades can often be revived, but damaged blades may need replacement. Ignoring this could lead to further issues down the line.
Professional vs. DIY Sharpening
When to Consider Professional Sharpening
While many barbers and stylists opt for DIY sharpening, there are instances where professional sharpening is advised. If your blades are significantly worn or damaged, or if you lack the confidence and skill to sharpen effectively, consider seeking professional help.
Advantages of DIY Sharpening
DIY hair clippers sharpening offers the flexibility of performing maintenance at your convenience. With just a few tools, you can keep your clippers in top shape without repeated trips to a professional.
Conclusion
In conclusion, hair clippers sharpening is an essential skill that every barber or hairstylist should master. By understanding the tools, techniques, and best practices involved, you can maintain your clippers’ performance, extend their lifespan, and save money on replacements. Regular maintenance and proper sharpening can revolutionize your cutting experience, ensuring your clients receive the best possible service. Whether you choose to sharpen your clippers yourself or consider professional help, the importance of keeping those blades sharp cannot be understated. Take the time to invest in your tools, and you will undoubtedly see the benefits reflected in your work.