 by
by Cleaning your electric shaver blades is essential for maintaining optimal performance and extending the lifespan of your grooming tool. Over time, hair, skin cells, and residue from shaving creams can accumulate, making it crucial to develop a routine for keeping your shaver clean. In this guide, we will delve deep into how to clean electric shaver blades effectively, explore various techniques and tools, as well as discuss the importance of regular cleaning.
Understanding the Importance of Cleaning Electric Shaver Blades
Benefits of Clean Electric Shaver Blades
When you clean your electric shaver blades regularly, you reap a plethora of benefits, including:
- Improved Performance: Clean blades can cut hair more efficiently. When debris accumulates, it can lead to tugging or pulling, making the shaving experience less comfortable.
- Better Hygiene: Electric shavers come into contact with skin and hair, making them a breeding ground for bacteria. Cleaning them limits the risk of skin infections and irritations.
- Increased Longevity: Regular maintenance can significantly extend the lifespan of your shaver. Clean blades are less likely to get damaged, saving you money in the long run.
Signs That Your Shaver Needs Cleaning
Before diving into the cleaning process, it’s important to recognize the signs that your electric shaver needs a thorough cleaning:
- Decreased Cutting Efficiency: If your shaver is pulling hair or taking longer than usual to achieve a clean shave, it may be time to clean the blades.
- Unpleasant Odors: Accumulated skin cells and oils can produce foul smells. If you notice any unpleasant odors, it’s time to get to work.
- Visible Build-Up: If you can see hair or debris on the blades, it’s a clear indicator that cleaning is necessary.
What You’ll Need to Clean Electric Shaver Blades
Before proceeding with the cleaning process, gather the necessary tools and materials to ensure a smooth cleaning experience:
Basic Cleaning Materials
- Soft Brush: A small, soft-bristled brush works wonders for loosening and removing debris.
- Water: Warm running water is ideal for washing the shaver and rinsing off any debris.
- Mild Soap: A few drops of mild liquid soap can help with cleaning grease and stubborn build-up.
Advanced Cleaning Materials
- Cotton Swabs: These are perfect for getting into tight spaces where hair and debris might be lodged.
- Isopropyl Alcohol: This can be used for disinfecting and removing any remaining residues.
- Lubricant Oil: Some shavers come with specific lubricants; using the recommended type can keep the blades in top condition after cleaning.
Step-by-Step Guide on How to Clean Electric Shaver Blades
With the right materials in hand, we can move on to the actual cleaning process. Here’s a detailed step-by-step guide on how to clean electric shaver blades.
Step 1: Safety First
Before you begin cleaning your electric shaver, make sure to unplug it. If your shaver uses batteries, remove them to prevent any accidents. This is an important first step in ensuring safety throughout the cleaning process.
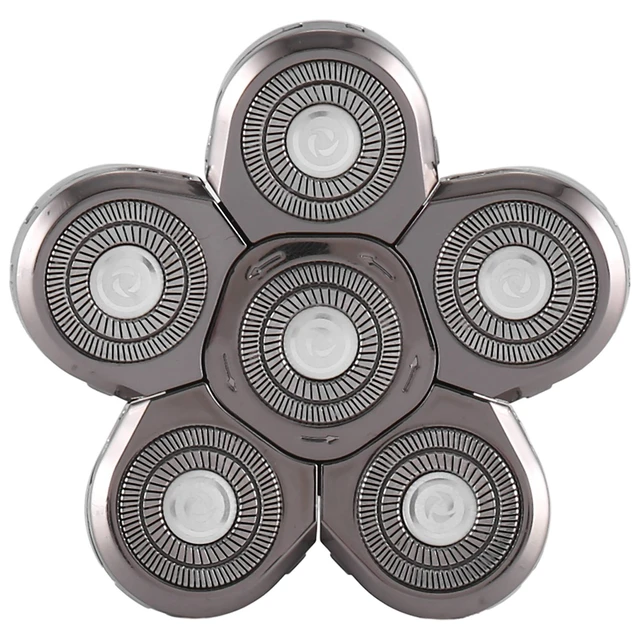
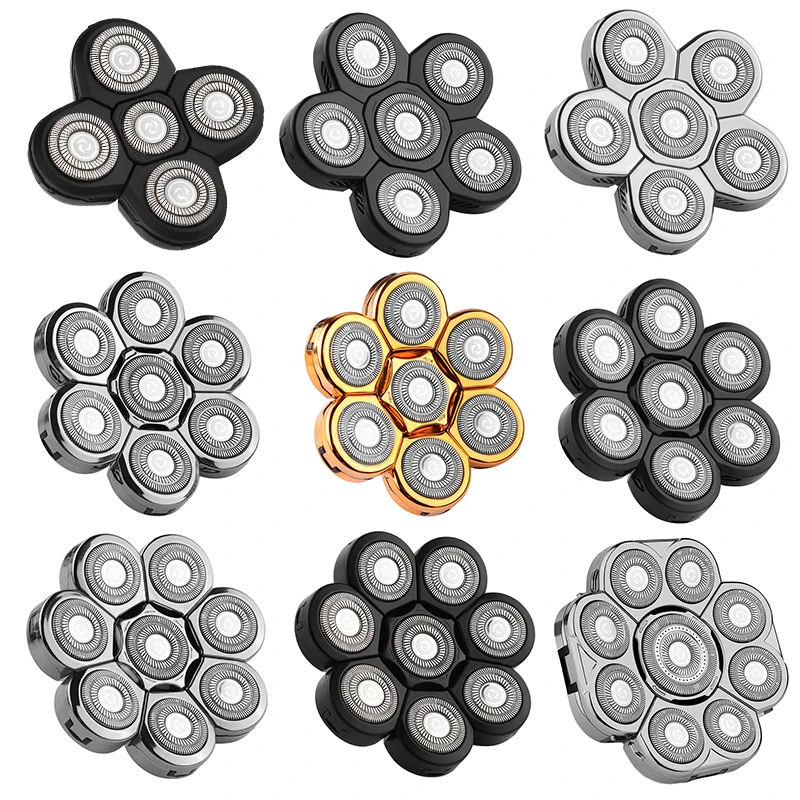
Step 2: Disassemble the Shaver
Most electric shavers are designed for easy disassembly. Consult the user manual to see how your specific model comes apart. Typically, you’ll need to:
- Remove the outer casing or head.
- Take out the blade assembly carefully.
Step 3: Brush Out Loose Hair
Using a soft brush, gently remove loose hairs and debris from the blades. Be careful not to apply too much pressure as this could damage the blades. Pay attention to the areas around the cutting heads and other hard-to-reach places.
Step 4: Rinse with Water
Using warm running water, rinse the disassembled blade assembly. This will remove any remaining loose debris.
- For Waterproof Shavers: If your shaver is waterproof, you can rinse all parts under running water. Be sure to check your manufacturer’s guidelines.
- For Non-Waterproof Shavers: For shavers that aren’t waterproof, skip the rinsing stage and proceed to the next step.
Step 5: Clean with Mild Soap
Take a small bowl of warm water and mix in a few drops of mild soap.
- Dip the soft brush into this solution and scrub the blades gently.
- Make sure to clean the entire surface area and any grooves where hair may be trapped.
Step 6: Rinse Again
After cleaning with soap, give the blades another rinse under warm water. This will remove any soap residue and any remaining debris.
Step 7: Dry the Blade Assembly
Once the blades are washed, it’s crucial to dry them thoroughly. You can use a soft towel for this task.
- Pat Dry: Be gentle while patting the blades dry to avoid damaging them.
- Air Dry: Allow the parts to air dry completely before reassembling them. This step is important to prevent mildew or bacteria from developing later.
Step 8: Clean Those Tight Spots
After drying, use a cotton swab dipped in isopropyl alcohol to clean the nooks and crannies of the blade assembly. This step will help eliminate any bacteria that may not have been removed during the washing process.
Step 9: Lubricate the Blades
Once everything is clean and dry, it’s time to lubricate the blades. Use a few drops of the recommended lubricant oil on the blades.
- Apply Sparingly: You only need a small amount. Too much oil can lead to residue accumulation.
- Run the Shaver Briefly: After lubrication, turn on the shaver for a few seconds to allow the oil to distribute evenly across the blades.
Step 10: Reassemble the Shaver
Once you are satisfied with the cleanliness of your shaver, you can reassemble it according to the instructions in the manual. Make sure everything is properly and securely put back together to ensure optimal performance.
Additional Tips for Maintaining Your Electric Shaver
Cleaning your electric shaver blades is essential, but maintaining them is equally important. Here are a few extra tips you can follow to keep your shaver in prime condition:
Regular Cleaning Schedule
Establish a routine for cleaning your electric shaver. Depending on how often you shave, a good rule of thumb is to clean your shaver blades every one to three weeks.
Rinse After Each Use
If your shaver is waterproof, consider rinsing it under water after each use. This practice can prevent build-up and ensure that hairs and skin cells don’t accumulate over time.
Replace Blades as Needed
Regularly check the condition of your blades. If you notice that they are dull or damaged, consider replacing them. Most manufacturers recommend changing blades or foil heads every 6 to 12 months, depending on usage.
Store Properly
Proper storage can extend the life of your electric shaver. Always store it in a dry location, away from moisture, to prevent rust and mold growth. Some shavers come with a protective pouch; make use of it.
 Frequently Asked Questions (FAQs)
1. Can I clean my electric shaver with alcohol?
While rubbing alcohol may disinfect, it can also dry out the blades and cause wear over time. It’s better to use cleaning solutions specifically designed for electric shavers.
2. How can I tell if my blades need to be cleaned?
If you notice any tugging or pulling while shaving, or if the shave feels less smooth, it may be time to clean your blades. Additionally, visible hair build-up indicates a need for cleaning.
3. Should I use oil on my electric shaver blades?
Yes, routine lubrication can help keep blades running smoothly. Use a manufacturer-recommended lubricant and apply it after cleaning to maintain optimal performance.
4. Is it necessary to follow a cleaning routine if the shaver is waterproof?
Yes, even waterproof shavers benefit from regular cleaning. Water alone may not remove all debris and bacteria, leading to a less effective shave.
Conclusion
Keeping your electric shaver blades clean is vital for good performance, hygiene, and longevity. Following the steps outlined in this guide, you’ll learn how to clean electric shaver blades effectively, ensuring you have a more comfortable and efficient shaving experience. Remember, consistent cleaning and maintenance are key to prolonging the life of your electric shaver. So, don’t overlook this important task; your skin will thank you for it!